Tech Savvy Tips and Tricks -
Create Your Own Screencasts

Tech Savvy Tips and Tricks
Create Your Own Screencasts


/en/techsavvy/working-with-zip-files/content/
As you may already know, we make a lot of screencasts here at GCF Global. We've found that screencasts are one of the best ways to teach people how to use their computers. A screencast is just a recording of the computer screen combined with narration. You don't have to be a pro to create a screencast, and it can be as simple or as complex as you want it to be.
Why would you want to create your own screencast? Here are just a few examples:
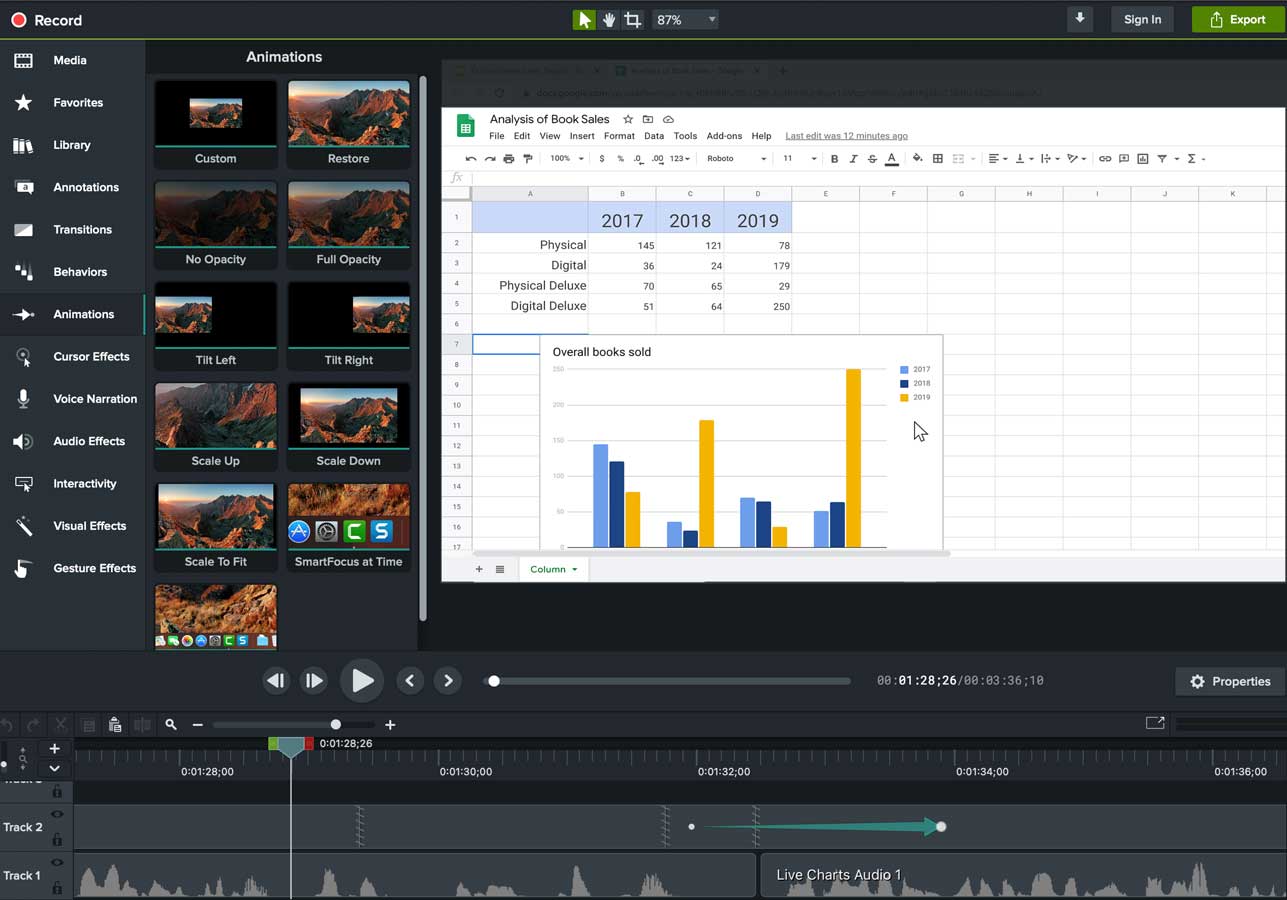
The first thing you'll need is screencasting software. There are many different programs that you can use, including Camtasia and ScreenFlow. Some programs are free, but others can cost several hundred dollars. You should be aware that creating a screen recording takes a lot of computing power, and some of the free programs may produce choppy, low-quality videos. You may have to try two or three programs before you find one that works well on your computer.

If your computer has a built-in microphone, you don't need to buy any additional hardware. However, if you want better sound quality, you can buy a mic that plugs into your computer's USB ports.
There are many different ways to create a screencast. The quickest way is to simply press Record in your screencasting program. This method works for some screencasts, but it also has some disadvantages. For example, you may get halfway through your screencast and then realize you don't know what you're going to say next. You may also accidentally leave out some important points.
One way to prevent this is to create a script before you start recording. The script can just be a few notes jotted down on a piece of paper, or it can be a full, word-for-word script. It all depends on how much time you want to spend on the screencast, and how professional you want it to be. The most important thing is to decide what you want to cover in your screencast.
When recording your screencast, try to speak with a clear voice so that your audience can easily understand you. Also, try to make your mouse movements as smooth as possible. If the mouse pointer is moving too quickly, it may be difficult for your audience to follow it.
Many screencasters find that they get better results by recording the audio and video separately, since they don't have to focus on two things at once. They then edit the audio and video together so that everything is in sync.
Most screencasting programs allow you to do basic video editing. While not required, editing can make your screencasts clearer and more professional. Here are a few things you might consider doing when editing your screencast:
Once you've finished your screencast, you'll need to make sure it is saved as a movie file (such as .mp4 or .mov). You can then share it by uploading it to YouTube or another video hosting site.

If you only want to share it with specific people, make sure to set the video to Private. Otherwise, set it to Public so that everyone can view it.
As you can see, there are a lot of things to think about when you're creating a screencast. But once you've finished it, you'll have a valuable teaching tool that you can share with friends, family, coworkers, or anybody else who wants to learn!
/en/techsavvy/edit-and-merge-pdfs/content/