
Publisher 2010 -
Working with Pictures

Publisher 2010
Working with Pictures

search
menu
/en/publisher2010/working-with-shapes-and-objects/content/
Pictures are a great way to add visual interest to your publication. Depending on the type of publication you're creating, adding pictures can even be essential. For instance, you wouldn't create a brochure for a product without including at least one picture of it. The picture tools in Publisher 2010 make it easy to incorporate images into your documents and modify those images in interesting ways.
In this lesson, you'll learn how to insert, fit, and format pictures, including clip art. You'll also learn about preparing your pictures for publication and using other Office programs to make advanced edits to your pictures.
To add a picture to your publication, you can either insert an image you have saved on your computer or choose one from Publisher's large selection of Clip Art. Once you've added images, you can then edit them as you wish.
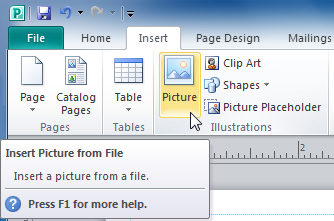 The Picture command
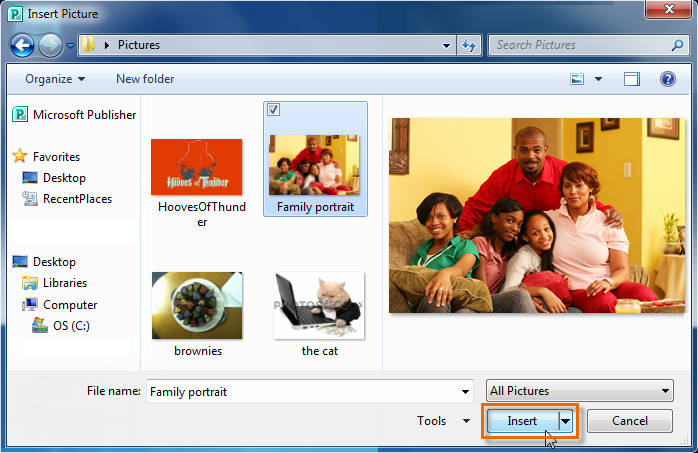 Selecting a picture to insert
 The inserted picture
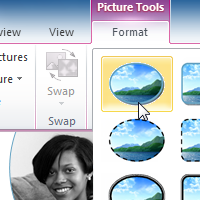
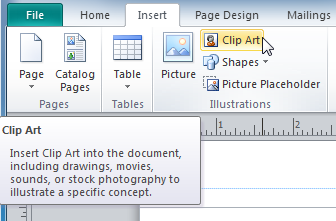 The Clip Art command
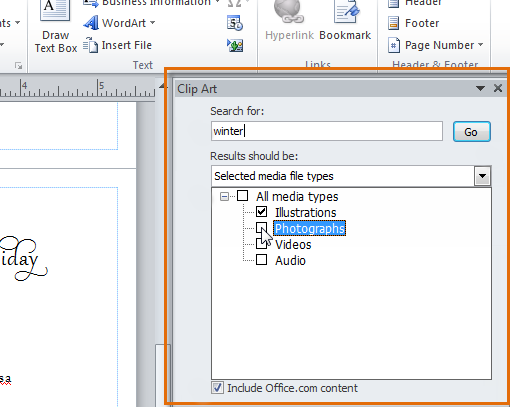 The Clip Art Pane
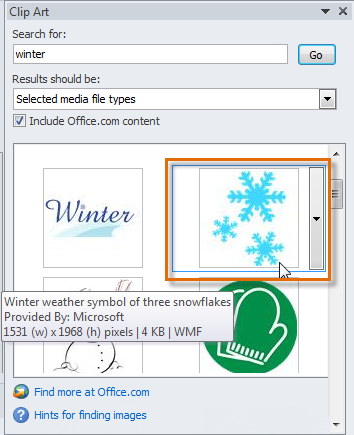 Choosing Clip Art
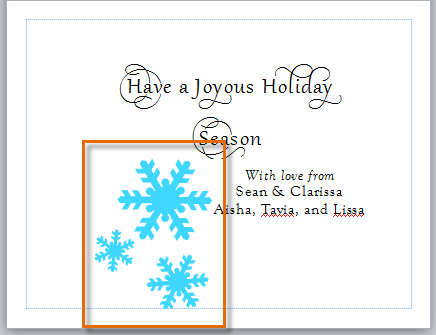 The inserted Clip Art
If you can't find Clip Art that suits your needs, you can also search on the Microsoft Office website by clicking the Find more at Office.com link at the bottom of the Clip Art pane.
 A link to more clip art at the Microsoft Office website
If you started your publication from a template, you're likely to want to replace some of the template's pictures with your own. The Change Picture command lets you insert new pictures in place of existing ones. When you use this command, the new picture will appear in the location of the original one, with the original picture's formatting applied.
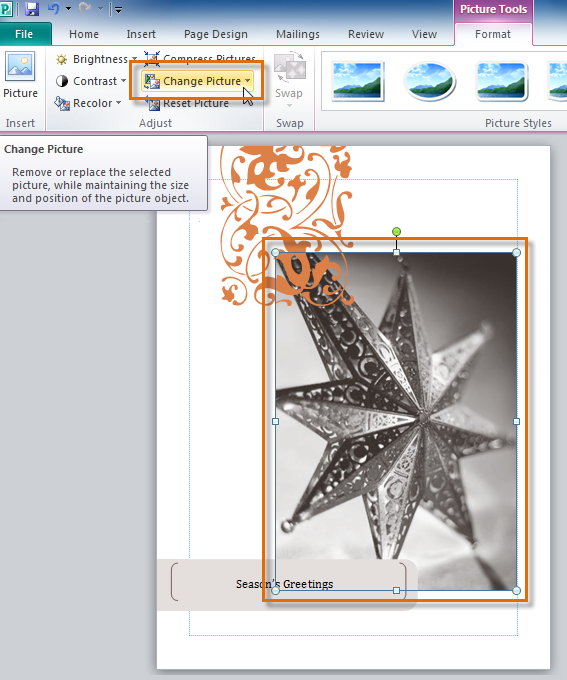 The Change Picture command
To get your picture to fit well on the page, you may have to adjust it by resizing, cropping, and rearranging it.
 Clicking and dragging the picture to resize it
 The resized picture
If you know exactly how many inches tall and wide you want your picture to be, you can resize it to those specifications. Click the Picture Tools Format tab, then locate the Size group. Enter the desired height of your picture in the top box and the desired width in the bottom box.
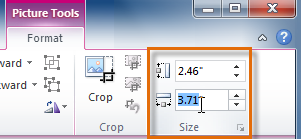 Entering precise measurements for the picture
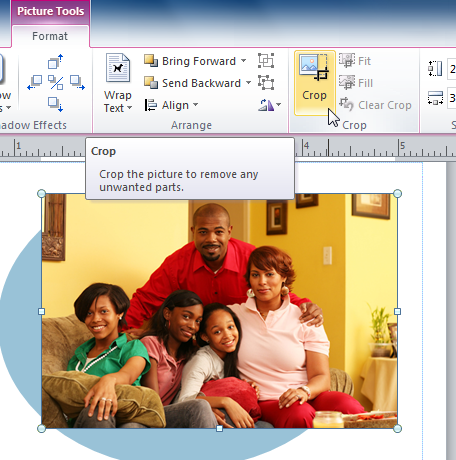 The Crop command
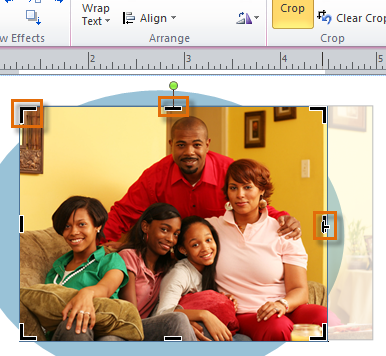 Cropping handles
 The cropped picture
To get your pictures to fit properly with text and other objects, you may have to align them and adjust their text wrap settings. The procedures for doing these things are identical to the procedures for working with shapes and other objects. To learn how to arrange and align pictures, review our Working With Shapes and Objects lesson.
 Picture text wrapping options
One of the most basic edits you can make to a picture is modifying its brightness and contrast. Although these tools are separated into two commands in Publisher, they are most effective when used together.
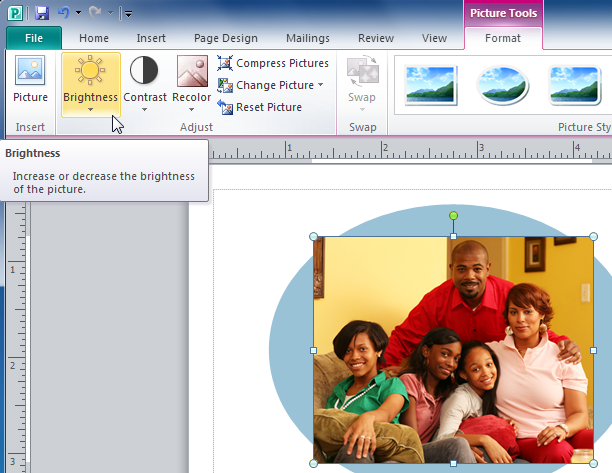 The Brightness drop-down command
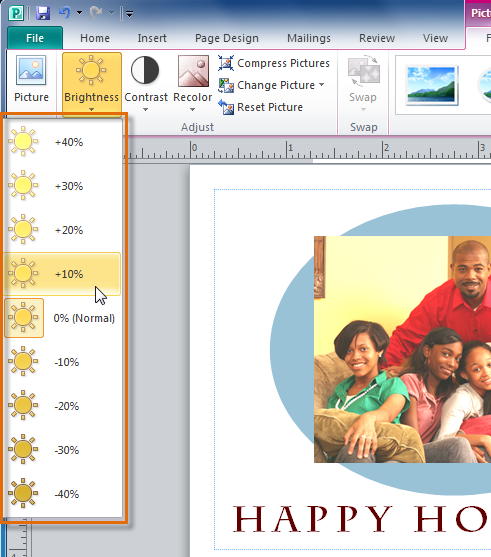 Making the picture brighter
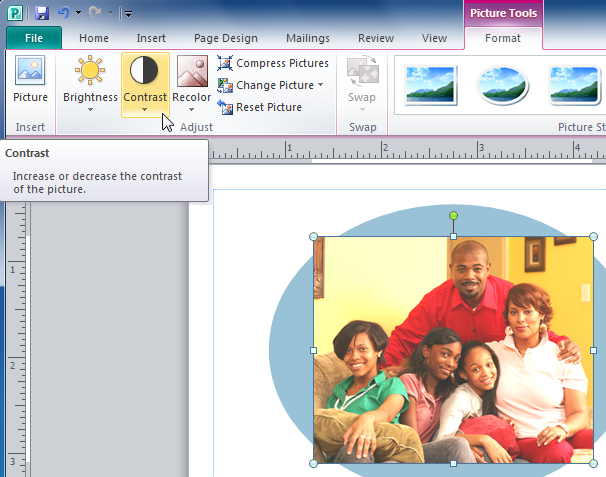 The Contrast drop-down command
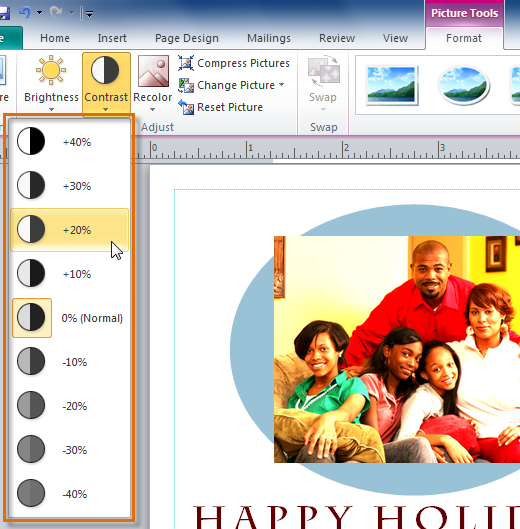 Increasing the picture contrast
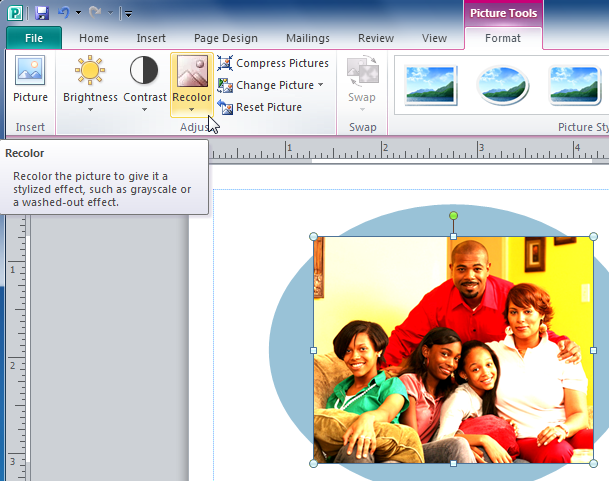 The Recolor command
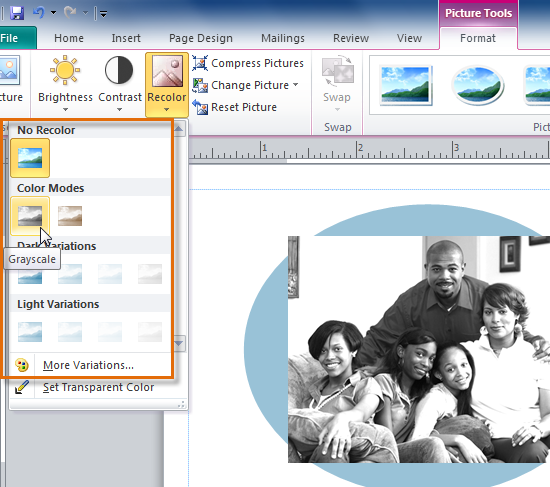 Recoloring options
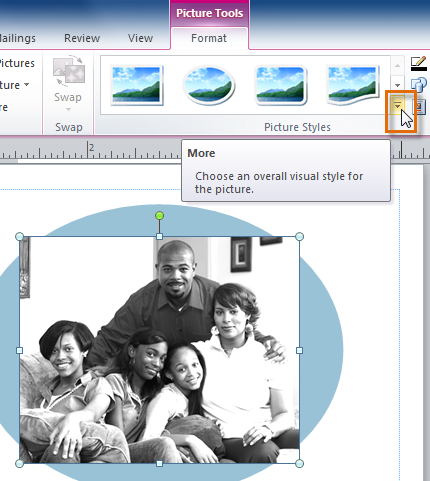 The More Picture Styles drop-down arrow
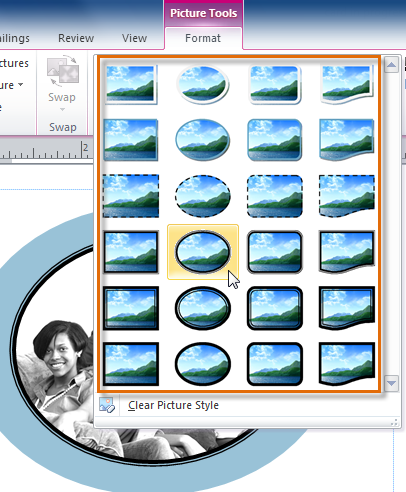 Selecting a picture style
 The picture, with the style applied
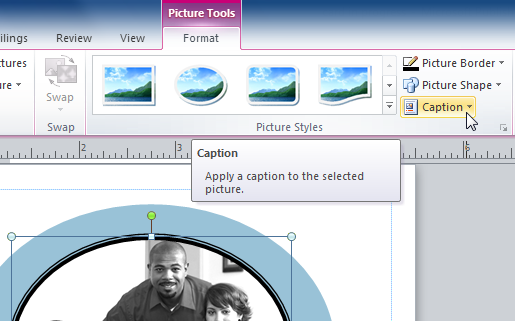 The Caption drop-down command
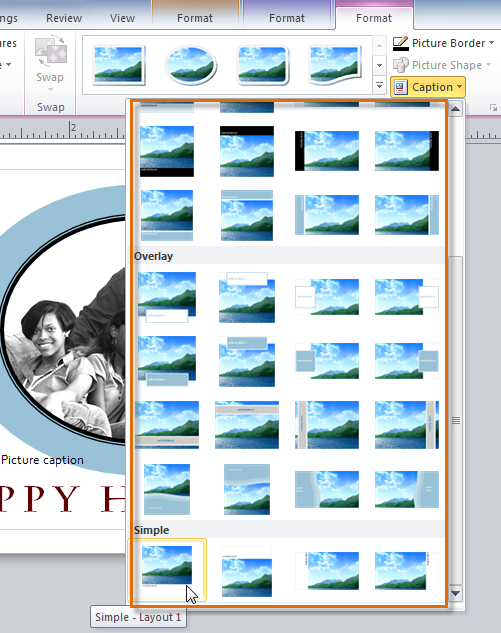 Selecting a caption style
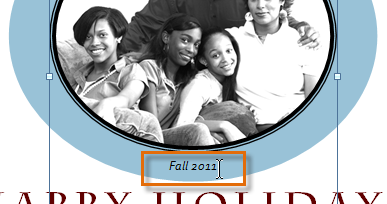 The caption
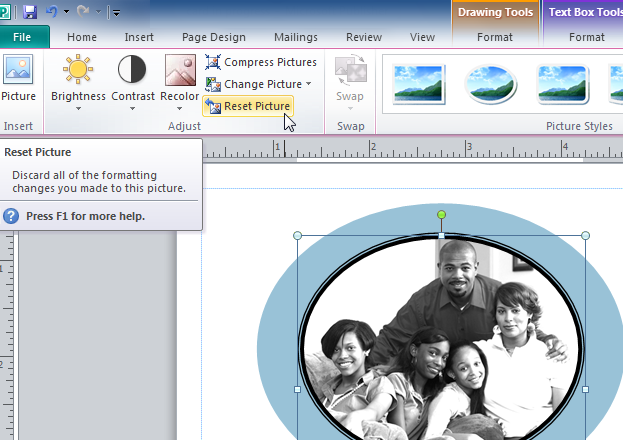 The Reset Picture command
 The picture, reset to its original appearance
If you've worked with pictures in Word or PowerPoint 2010, you probably noticed that Publisher includes only a fraction of the image editing tools featured in those programs. If you find yourself reaching the limit of Publisher's editing capabilities, you may wish to edit your picture in one of those programs, then insert it back into your publication.
While some of these tools are simply better, more complex versions of features that already exist in Publisher, other useful tools like image background removal and Artistic Effects are not present in Publisher 2010.
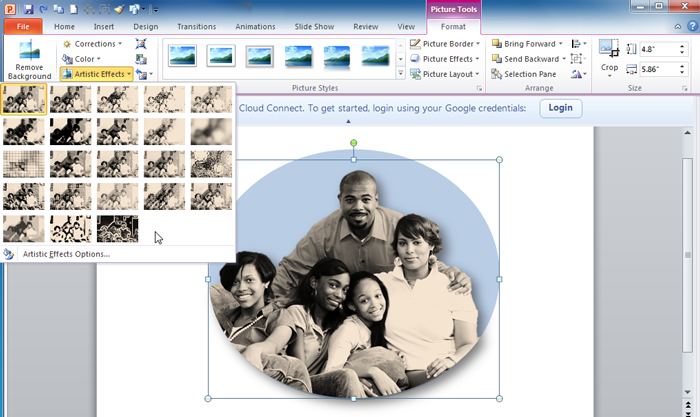 Extra picture editing options in PowerPoint
Additional image editing features available in these programs include:
These tools are identical in Word and PowerPoint, so use the program you feel more comfortable with. To learn more about these tools and how to use them, review one of the following lessons:
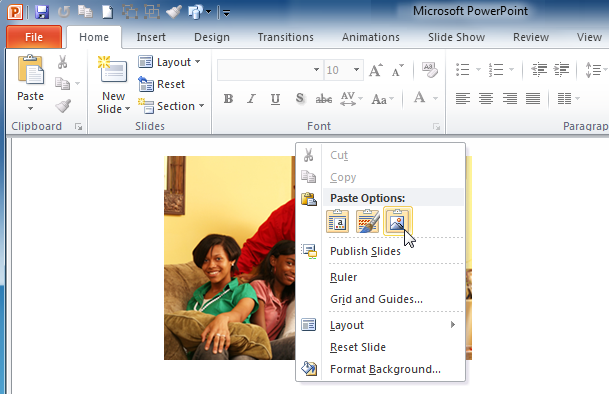 Pasting an image into PowerPoint
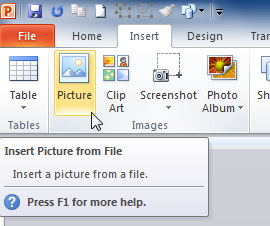 The Picture command in PowerPoint
 Removing the picture background
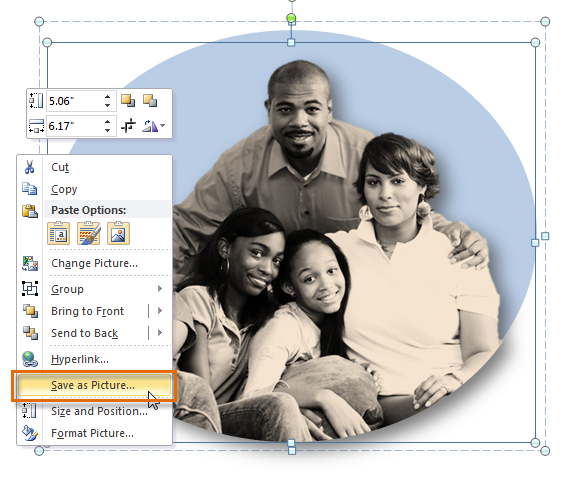 The Save as Picture command
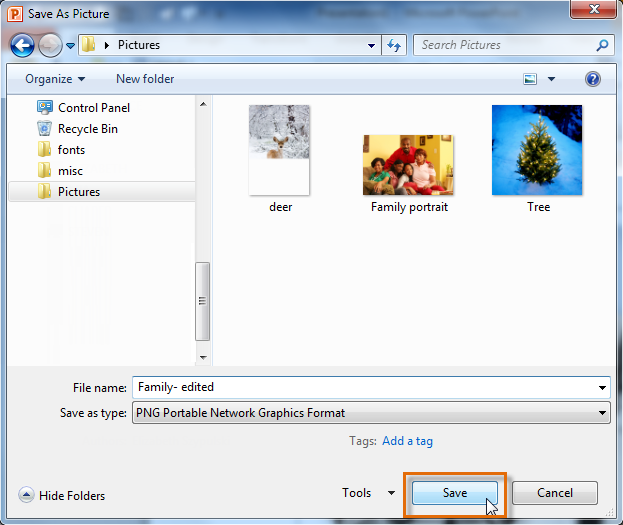 Saving the picture
 The inserted picture
While you could skip steps 4-6 by copying the picture from Word or PowerPoint and pasting it back into your publication, this is not recommended. Depending on the tools you used to modify your picture, some of the edits may not be saved.
You'll need to monitor the file size of publications that include pictures, especially if you send them via email. Large, high-resolution pictures can quickly cause your publication to become too large, which may make it difficult or impossible to attach to an email. In addition, cropped areas of pictures are saved with the publication by default, which can add to the file size. Publisher can reduce the file size by compressing pictures, lowering their resolution, and deleting cropped areas.
Only compress pictures after you have edited and resized them. Attempting to enlarge or otherwise edit a compressed picture may result in a blurry or otherwise low-quality image.
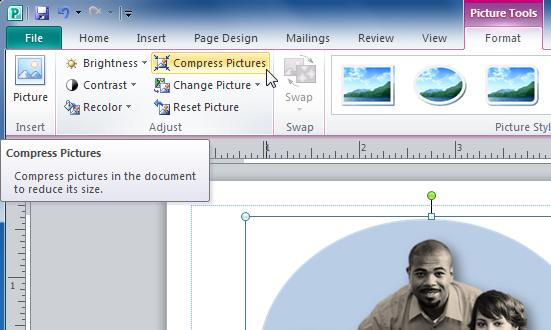 The Compress Pictures command
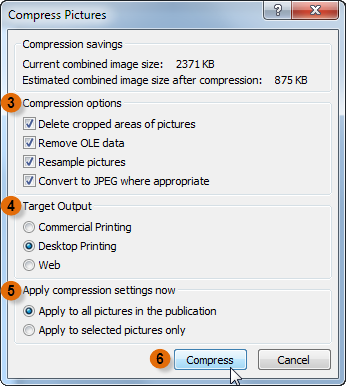 The Compress Pictures dialog box
Depending on the types of edits you make to your pictures, they may not print exactly as they appear onscreen. While this could signal a problem with your printer or ink, these print errors are often caused by problems in Publisher itself. For this reason, you should print a test copy of your publication as soon as you have added any pictures.
If the pictures are especially blurry, grainy, oddly colored, or otherwise distorted from their onscreen appearance, consider saving your publication as a PDF, then opening and printing the PDF version. Instructions on saving your publication as a PDF can be found in the Producing a Publication lesson.
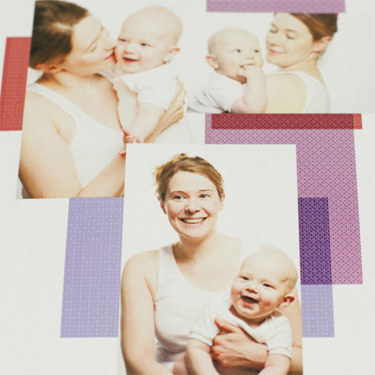 An example of distorted printing
 The same publication, saved and printed as a PDF
/en/publisher2010/working-with-tables/content/