Photoshop includes several tools you can use to correct your images. In this lesson, we'll show you how to make the following corrections:
Sharpening: If an image is less clear than you'd like it to be, you can sharpen it.
Noise reduction: If an image has a lot of noise, or graininess, you can reduce the image noise.
We'll also cover the importance of using these tools correctly. If they are misused, sharpening and noise reduction can actually cause problems. If they are used with care, they're a great way to add polish to your images.
If you'd like to follow along, you can download some or all of our example images. Just click any of the images below to open a full-sized version, then right-click the full-sized version and select Save Image As to save it to your computer.
Sharpening
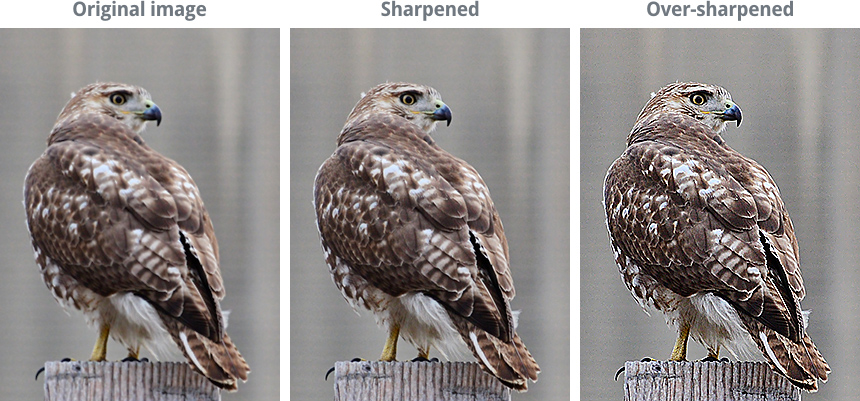
Sometimes an image may not be as clear as you'd like it to be. Sharpening can help make it look crisp and clear by enhancing theedges of objects in the image. However, adding too much sharpness can actually make an image look worse, or it can lead to a loss in image detail.
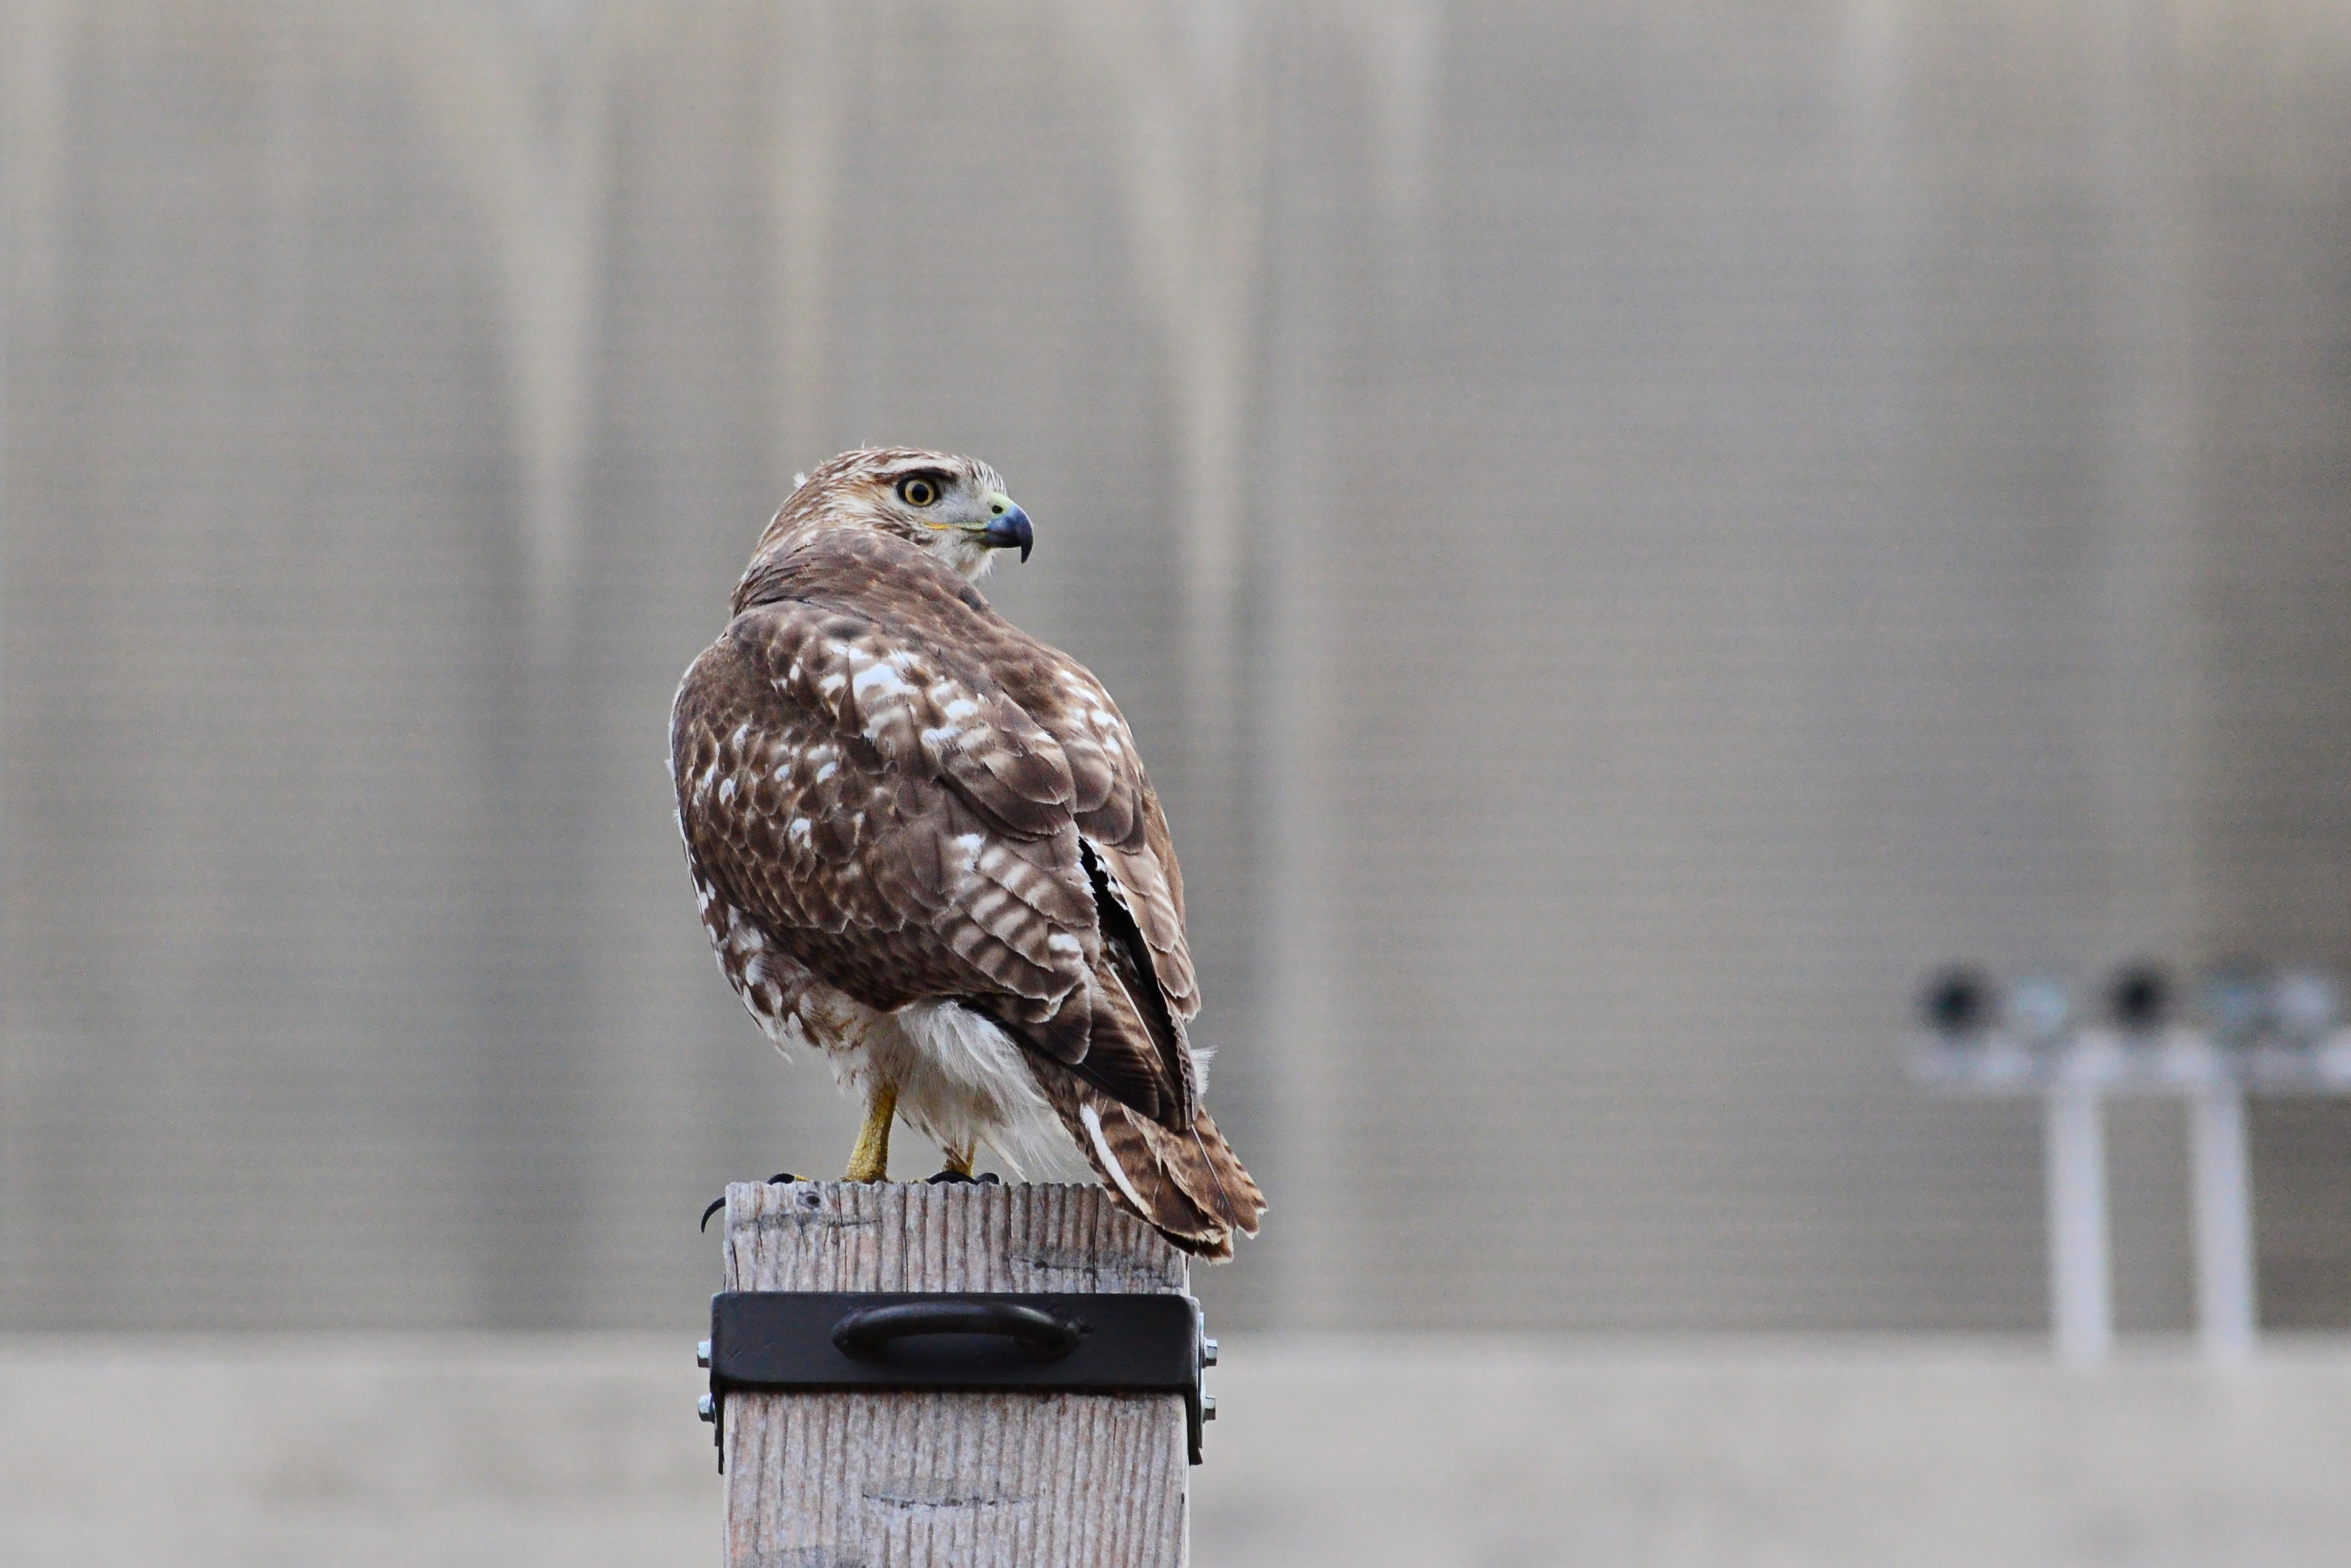
As you can see, the right amount of sharpness makes the photo look crisp. For example, in the center image it's easy to see the edges of the bird's feathers. Adding too much sharpness can cause the edges to look exaggerated and unnatural (these are known as halos), as in the image on the right. You may have also noticed that the background in the over-sharpened image has a lot of added image noise, or graininess.
Whenever you apply sharpening, you'll need to look critically at the image to see if you're getting the results you want. You'll often need to make careful adjustments to get the right amount of sharpening without introducing other problems like halos or noise.
Try this!
Drag the slider in the interactive below to adjust the sharpness of the image. Try to make the image look crisp but not over-sharpened.
For best results, we recommend using the Chrome web browser with these interactives.
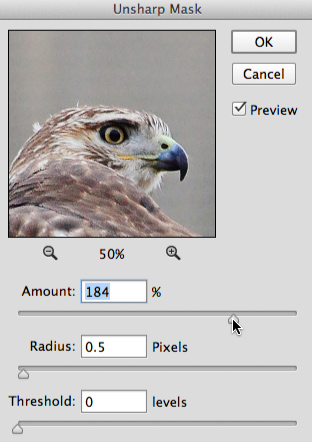
Unsharp mask
The unsharp mask filter is a common way to sharpen images in Photoshop. When you use this tool, you'll be able to control several settings, including:
Amount: The amount determines how much sharpness will be applied. The amount you'll need depends on several factors, including the overall image size, so it's good to experiment with this setting.
Radius: The radius controls the size of the details that will be sharpened, so it's generally best to use a very low value for this setting. We recommend a radius between 0.3 and 0.5 for most images, although you may find it useful to use a slightly larger radius (between 1 and 1.5) for higher-resolution images.
Threshold: Sharpening tends to make image noise more visible. Increasing the threshold can help to reduce this by telling the unsharp mask to ignore certain parts of the image. However, this can also mean that different parts of the image are not sharpened consistently. This is why we recommend keeping this setting at 0 most of the time, unless the sharpening is creating a lot of extra noise.
Applying an unsharp mask
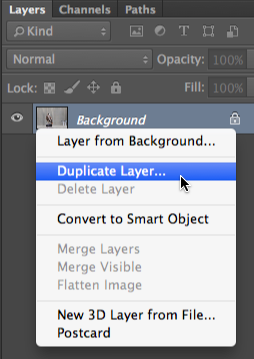
Right-click the layer you want to sharpen, then select Duplicate Layer. You'll apply the sharpening to this duplicate layer, which will prevent you from accidentally altering the original.
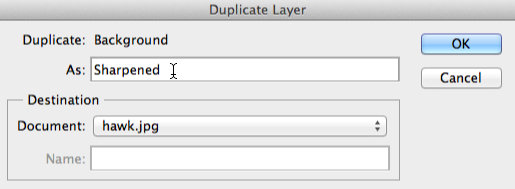
A dialog box will appear. Type a name for the new layer, then click OK. In this example, we'll call it Sharpened.
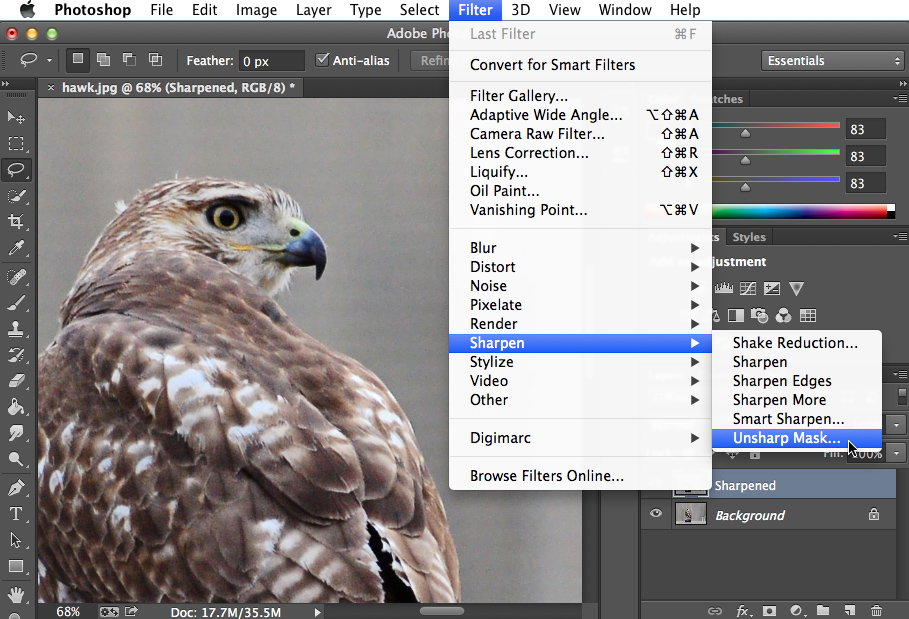
With the new duplicate layer selected, go to Filter > Sharpen > Unsharp Mask. If you're using Photoshop Elements, you'll need to go to Enhance > Unsharp Mask.
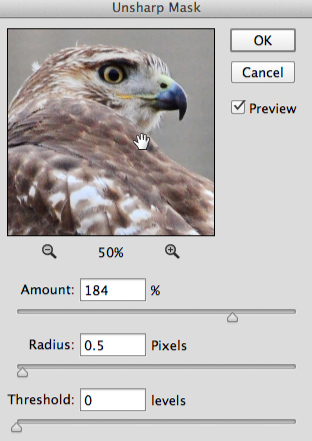
A dialog box will appear. Set the desired radius size, then choose the amount of sharpness to add. We recommend experimenting with different amounts of sharpening to see what looks best. You can look at the previewwindow above the sliders to see how sharpening is affecting the image.
Click the preview window to toggle the preview off and on. This is an easy way to compare the sharpened version with the original. To view a different part of the image, click and drag within the preview window. Note that you'll also see the preview in the main document window.
Continue adjusting the settings until you're satisfied with result, then click OK. The unsharp mask will be applied.
Try this!
Open the hawk_fullsize.jpg example file, duplicate the background layer, and apply an unsharp mask. Adjust the settings to find a balance between sharpness and a loss of detail.
To learn even more about sharpening, review this tutorial from Cambridge in Colour.
Sharpening tips
Here are a few tips for getting the best results with sharpening:
If you increase the amount of sharpening that is added, there will generally be a point where the edges in the image will start to glow, causing them to look exaggerated. Whenever you see this happen, try decreasing the amount to make the sharpening look more natural.
If the sharpening still looks a bit unnatural, you could try reducing the opacity of the sharpened layer to make the effect more subtle.
Note that sharpening cannot fix an image that's very blurry or out of focus. It works best with images that are clear but have a slightly soft look.
While the unsharp mask is a useful tool, Photoshop also includes other sharpening filters, which can be found in the Filter > Sharpen menu. Some filters, like Sharpen and Sharpen More, apply a preset amount of sharpening. Others, like Smart Sharpen, give you even more ways to tweak the adjustments (although this also means it's even trickier to use than the unsharp mask).
To learn more about using Smart Sharpen, review this video from Adobe.
Noise reduction
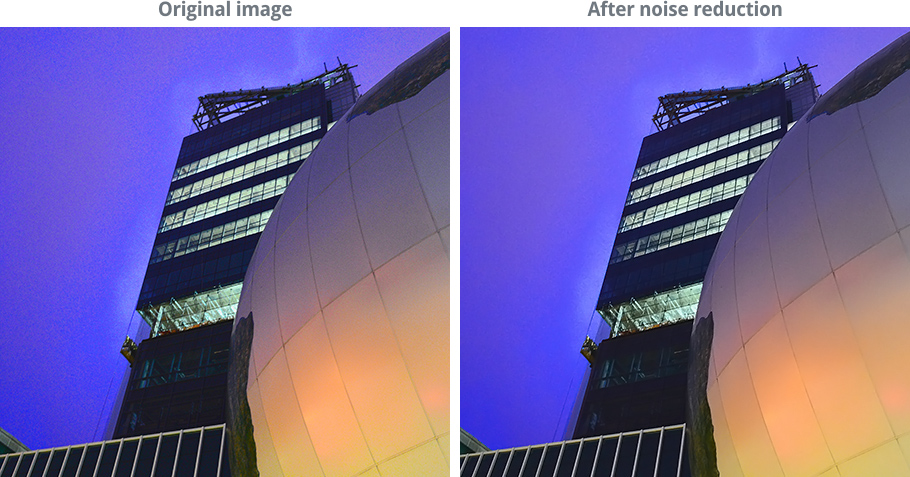
Some images may have a lot of noise, which causes them to look grainy. You can compensate for this by reducing the image noise, as in the example below.
Understanding noise reduction
When you apply noise reduction, you're actually removing information from the image. Because of this, it's important to use this feature carefully to avoid removing too much noise, which can cause blurriness and a loss of detail. The goal of noise reduction is not to completely remove all noise from the image; instead, you're just trying to make the image look cleaner and clearer.
As with sharpening, you should always look critically at the image to see if you're getting the results you want. Losing a small amount of detail may be unavoidable when reducing noise, so you'll need to make careful adjustments to find the right balance. It's often better to remove less noise in order to preserve as much detail as possible.
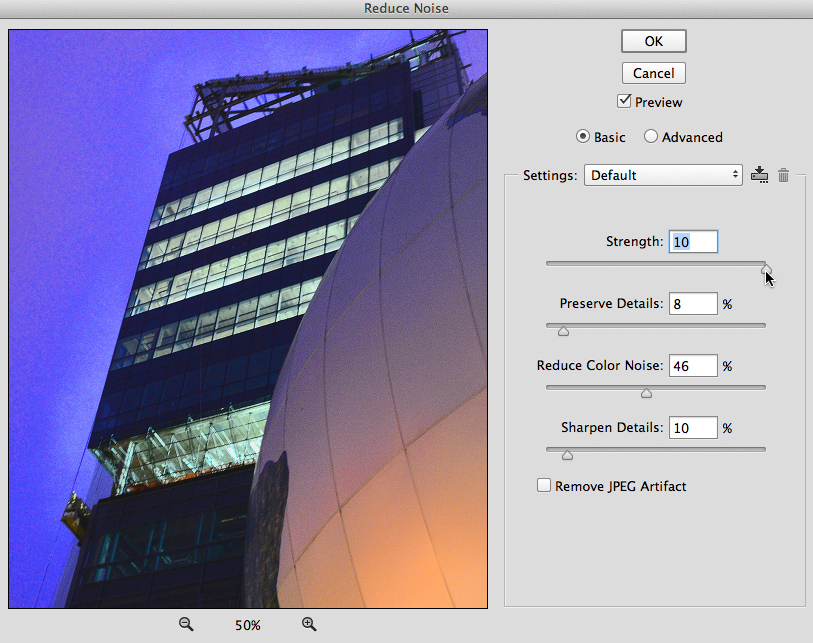
When using this tool, you'll be able to control several settings, including:
Strength: This setting controls the overall level of noise reduction that will be applied. We recommend starting with this setting at the maximum value (10) because it will make it easier to see the effect the other settings have. After you've adjusted the other settings, you can decrease the strength as needed to get the desired amount of noise reduction.
Preserve Details: This determines how many details from the original image will be preserved. If you use a value that's too low, the image will lose a lot of detail. However, anything too high will cancel out the effects of noise reduction. You'll want to experiment with this setting until you're satisfied with the result.
Reduce Color Noise: Sometimes noise will look like small patches of individual colors, which is known as color noise. Increasing the Reduce Color Noise setting will help to reduce this. However, taking this setting too high can cause the different colors in your image to bleed together, so we recommend using a relatively low value for most images.
Sharpen Details: Reducing image noise also causes the image to lose some sharpness. This setting allows you to add sharpness back to the details of the image. However, just like with Preserve Details, this can cancel out the effects of noise reduction, so be careful not to set it too high.
Try this!
Drag the slider in the interactive below to adjust the level of noise reduction. Remember, removing too much noise will cause the image to lose detail. Try to find a level that makes the image look clean without losing too much detail.
Applying noise reduction
Right-click the desired layer, then select Duplicate Layer. You'll apply the noise reduction to this duplicate layer, which will prevent you from accidentally altering the original.
A dialog box will appear. Type a name for the duplicate layer, then click OK. In this example, we'll call it Noise Reduction.
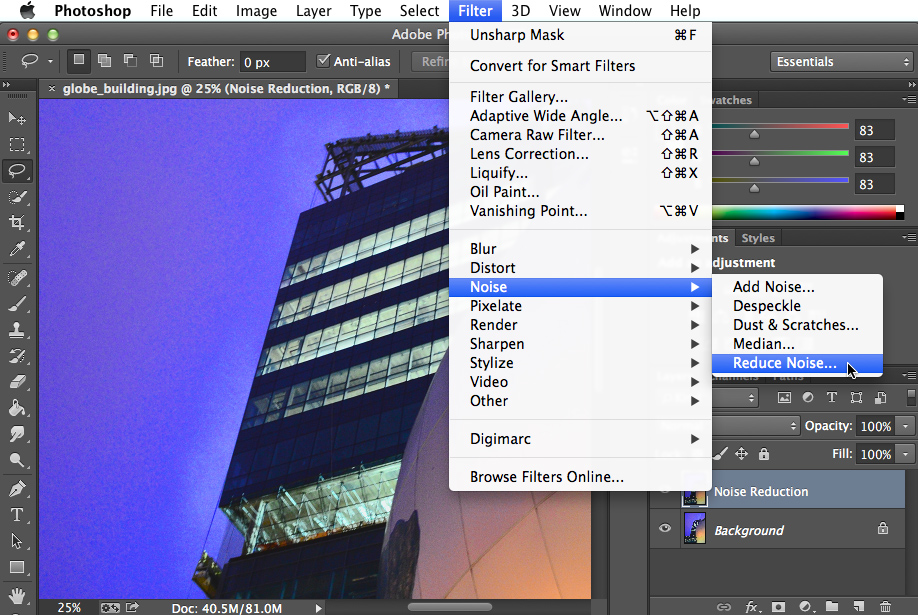
With the new duplicate layer selected, go to Filter > Noise > Reduce Noise.
A dialog box will appear. Take some time to adjust each setting, following the guidelines above. You can look at the previewwindow to the left of the sliders to see the effect.
Click the preview window to toggle the preview off and on. This is an easy way to compare the noise reduction with the original. To view a different part of the image, click and drag within the preview window. Note that you'll also see the preview in the main document window.
Continue to adjust the settings until you're satisfied with the results, then click OK. The noise reduction will be applied.
Try this!
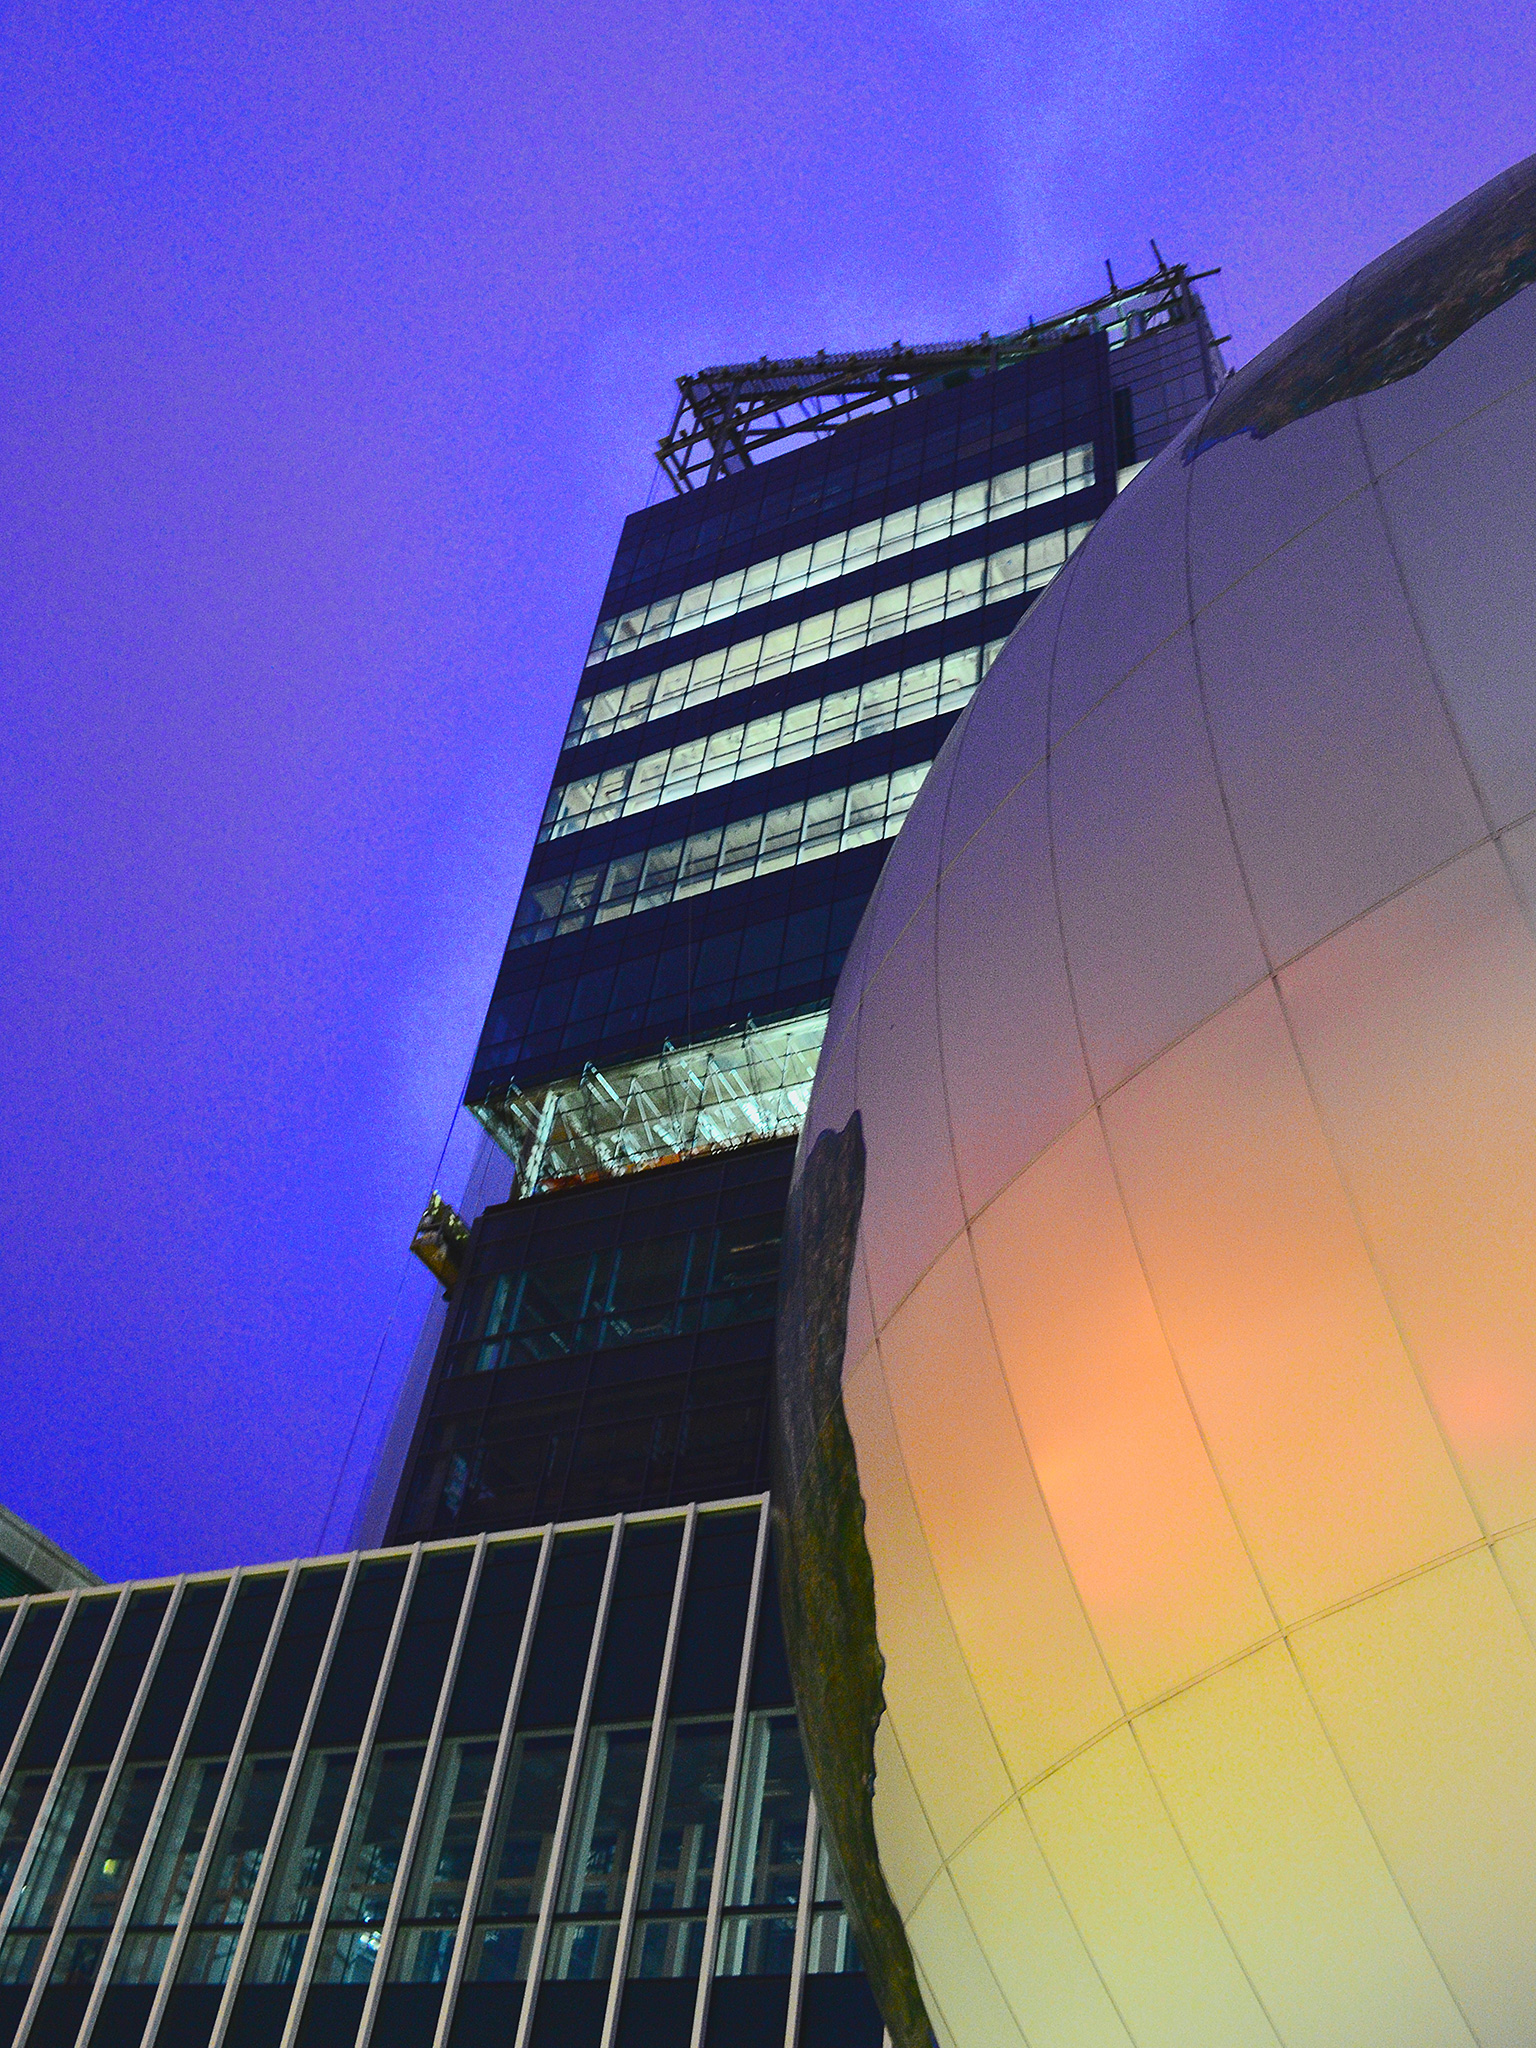
Open the globe_building_fullsize.jpg example file, duplicate the background layer, and apply noise reduction. Adjust the settings to find a balance between noise reduction and a loss of detail.
Challenge!
If you want to practice making the adjustments we cover in this lesson, you can download some or all of our example images. Just click any of the images below to open a full-sized version, then right-click the full-sized version and select Save Image As to save it to your computer.
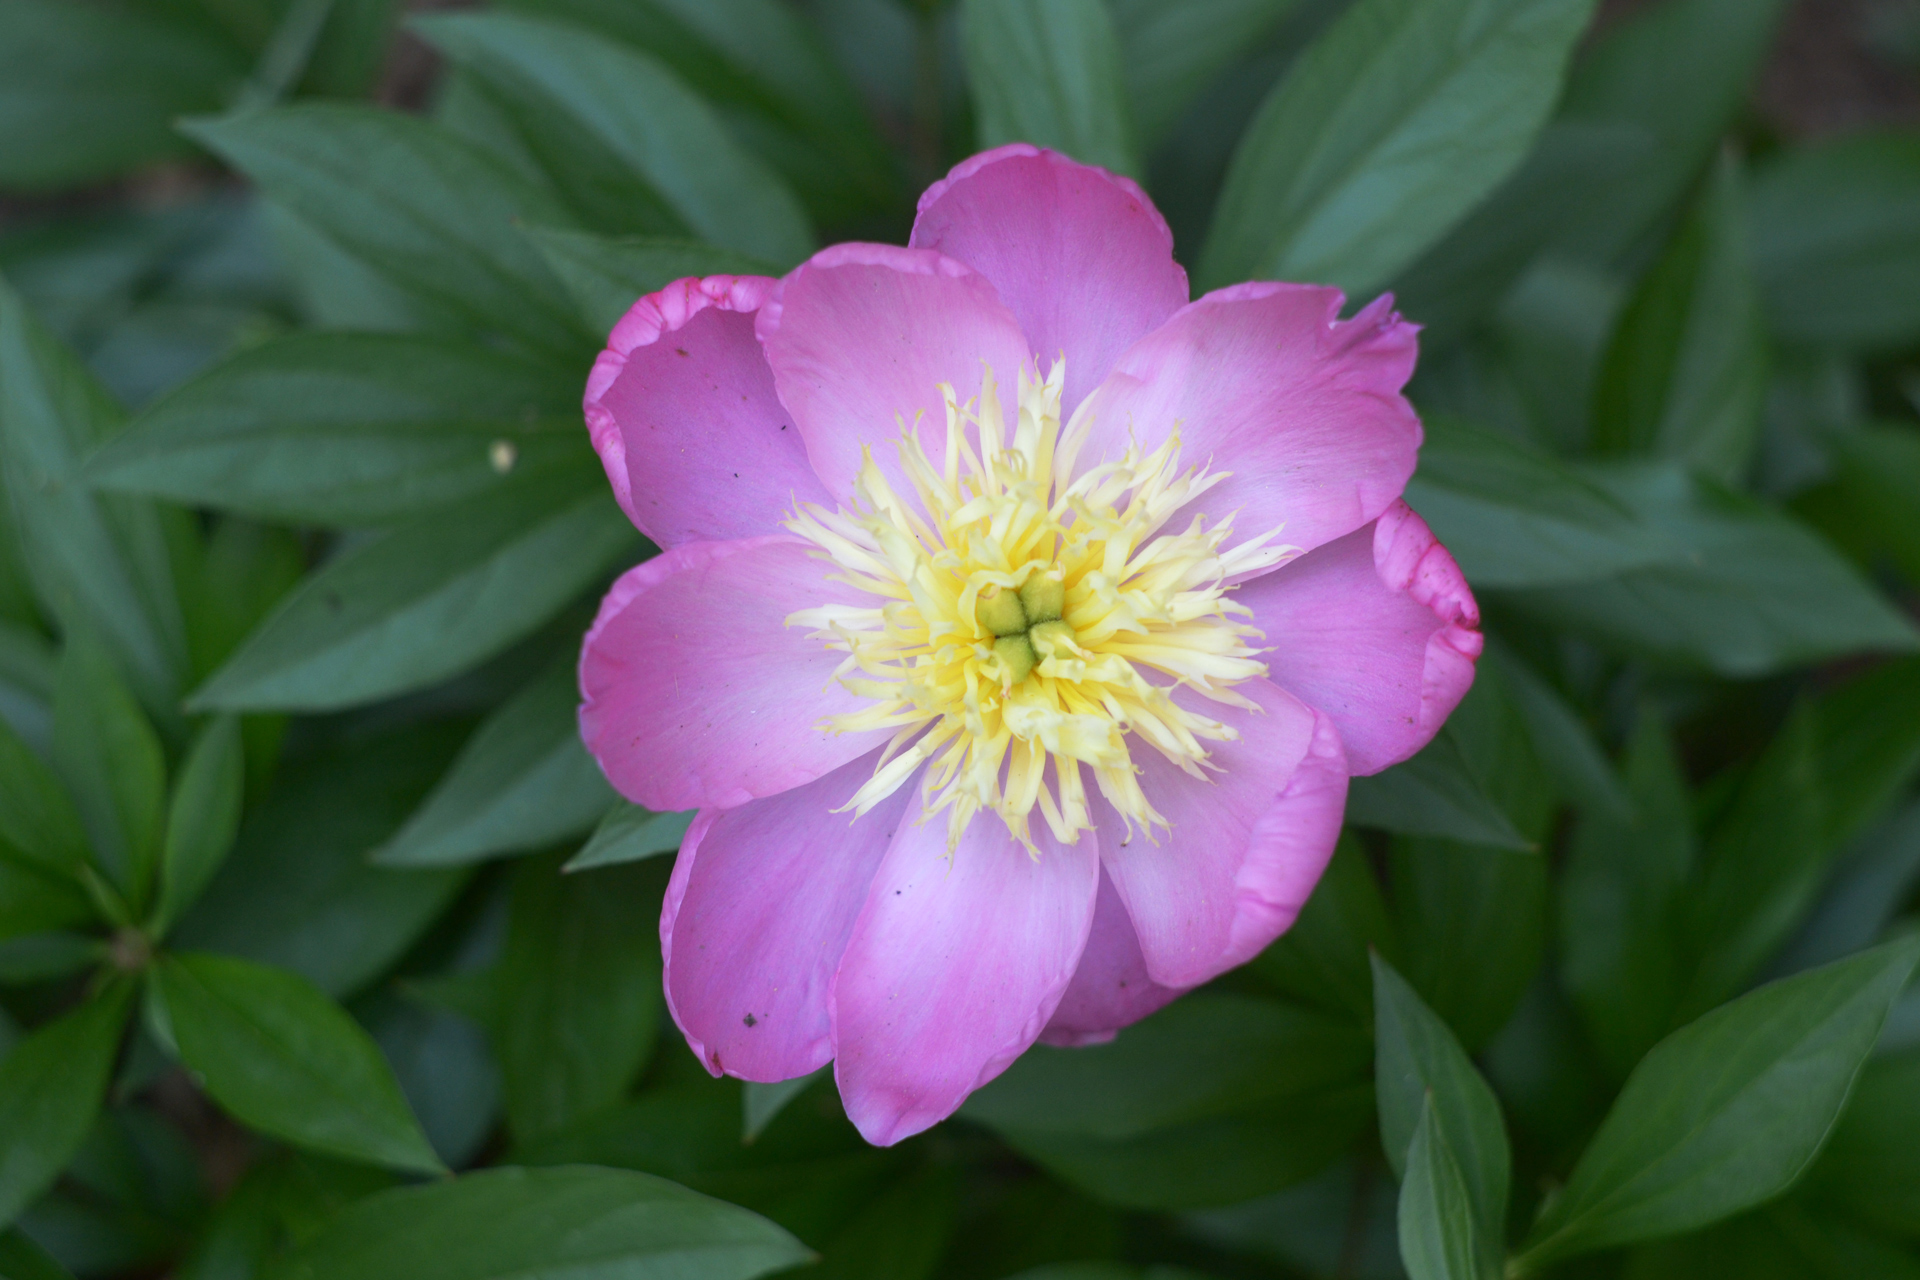
Open the flower_fullsize.jpg example file in Photoshop.
Duplicate the background layer, then apply an unsharp mask. Take some time to adjust the different settings, comparing the sharpened version with the original.
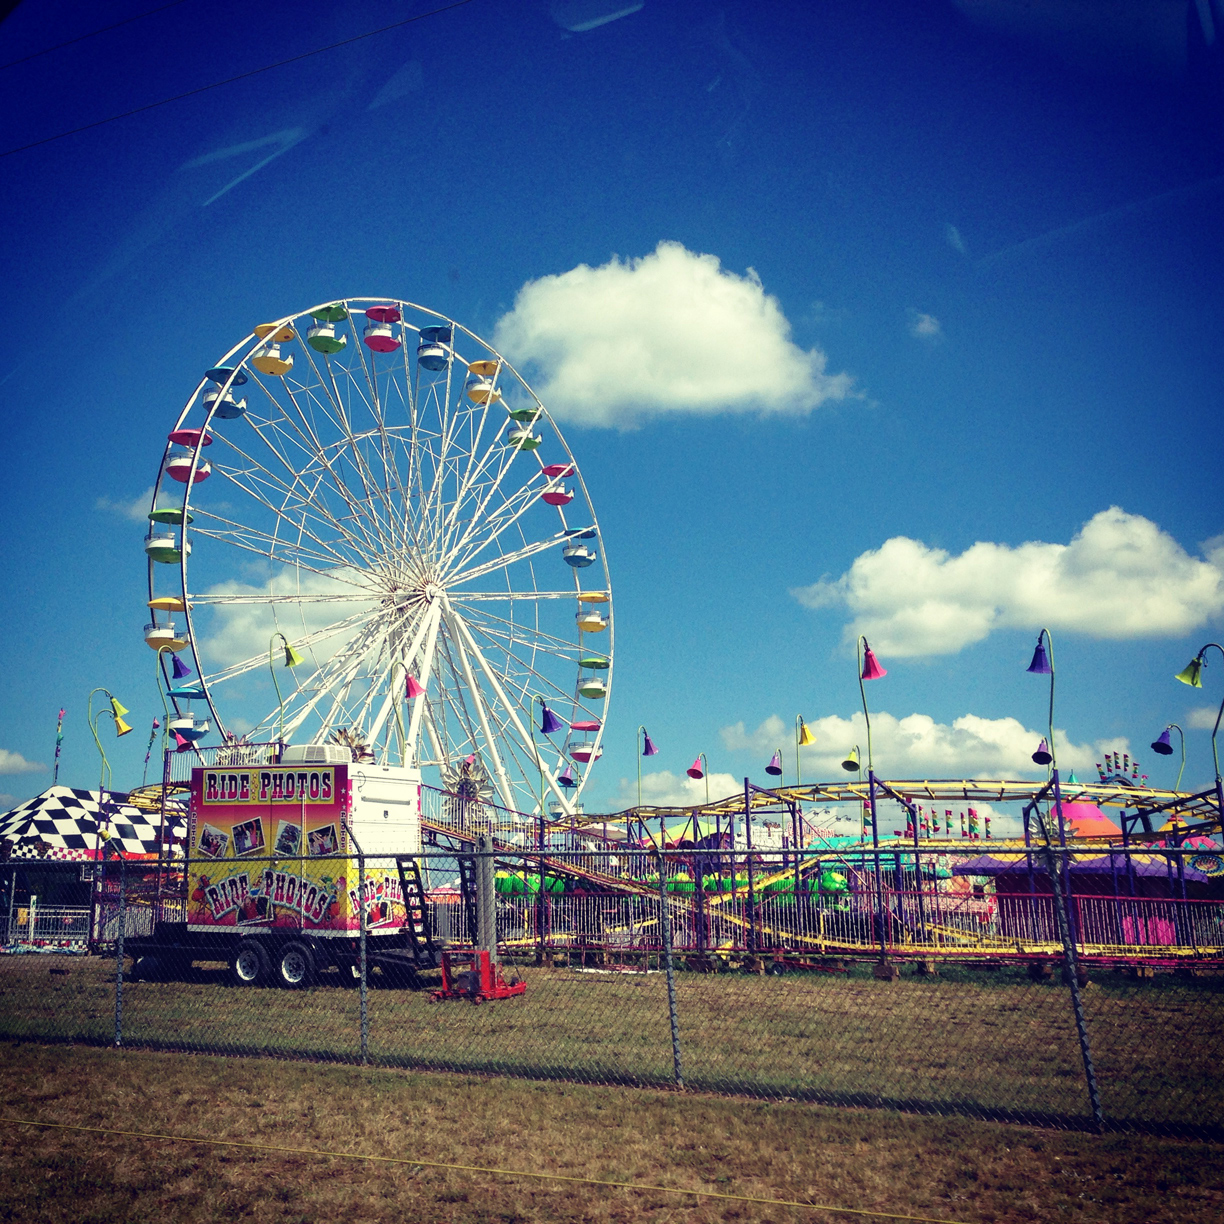
Open the ferris_wheel_fullsize.jpg example file.
Duplicate the background layer, then apply noise reduction. Take some time to adjust the different settings, comparing the noise reduction with the original.
When you're finished editing, use the Save for Web feature to export the images as JPEGs.