Whether you're working at home or the office, OneDrive makes it easy to create new documents and share your files. You can even collaborate with others on a document.
In this lesson, you'll learn how to create documents and folders. We'll also talk about how to share your files with different groups of people, as well as the various collaboration tools available in Office Online.
Watch the video below to learn more about creating and opening documents and folders in OneDrive.
Types of Office documents
Office Online allows you to create several types of documents, including:
Word documents
Excel workbooks
PowerPoint presentations
OneNote notebooks
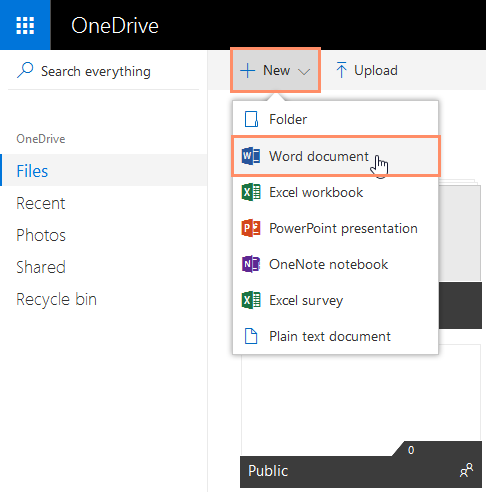
To create a new Office document:
In this example, we'll create a Word document.
Click the New button, then select the desired document type from the drop-down menu.
Your document will be created and opened.
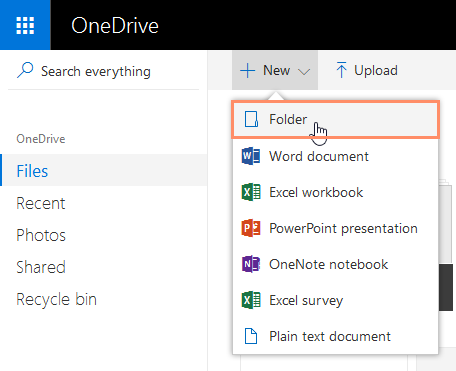
To create a new folder:
Click the Newbutton, then select Folder from the drop-down menu.
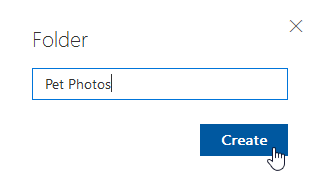
Enter a name for the new folder, then click Create.
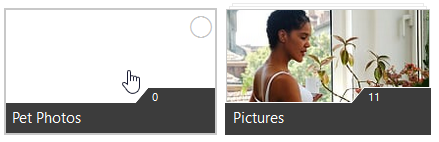
Your folder will be created. Click the folder to open it.
You can create new documents inside the folder by following the same steps as above. Just click the Create button, then select the type of document you want to create.
You can open and edit your documents in your web browser with Office Online. If you have Microsoft Office installed on your computer, you can also open and edit them with the desktop Office programs. While editing your documents with Office Online is convenient, it does have fewer features and editing tools than the desktop Office programs.
To open a document with Office Online:
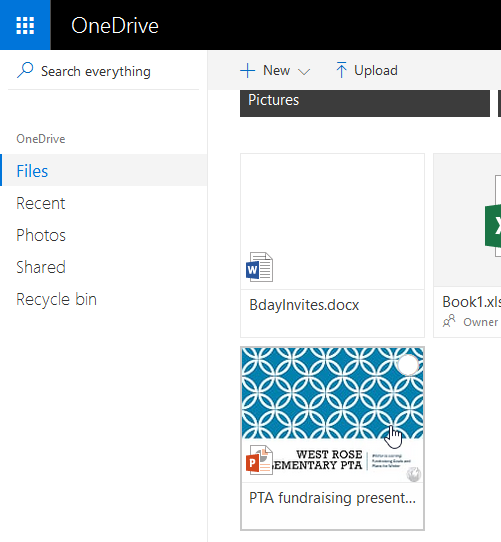
Click the document you want to open. In this example, we'll select a PowerPoint file.
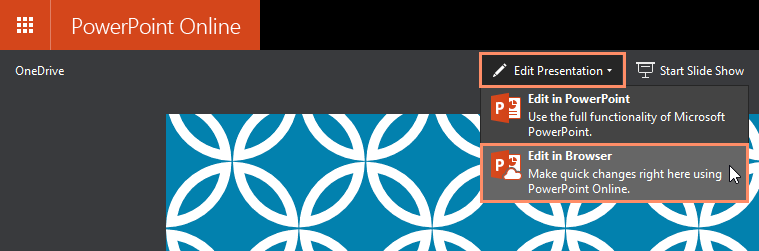
A preview of your file will open in a new tab. In the top toolbar, click Edit Presentation, then select Edit in Browser from the drop-down menu.
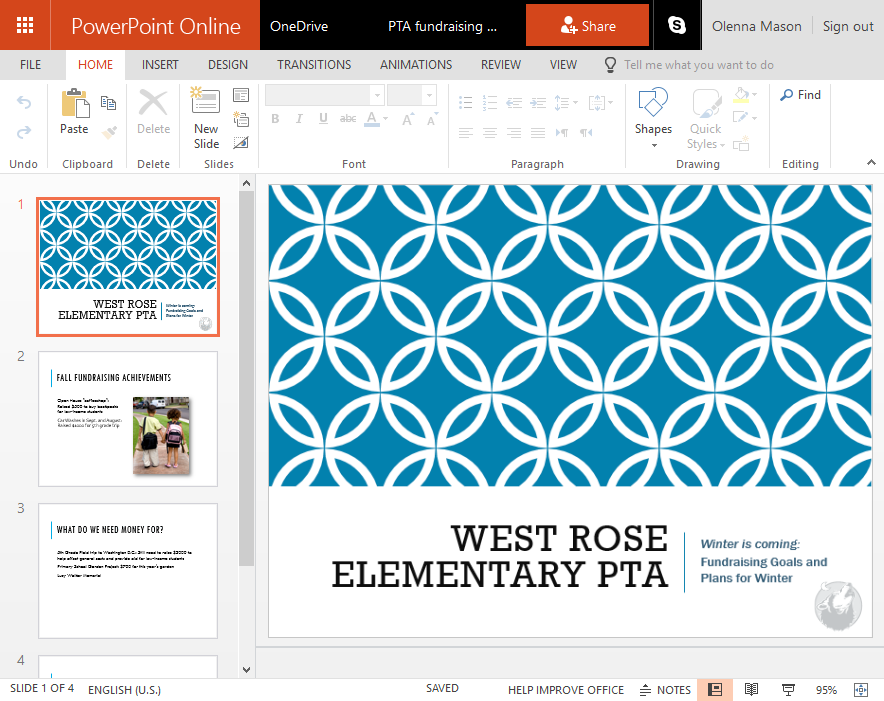
Your document will appear. You can now edit it with Office Online.
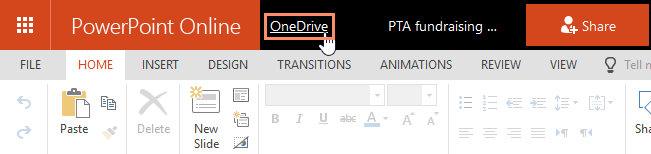
To close the document and return to OneDrive, click the OneDrive link at the top of the page.
To open a document with a desktop Office program:
You will need to have a version of Office installed on your computer to use this option.
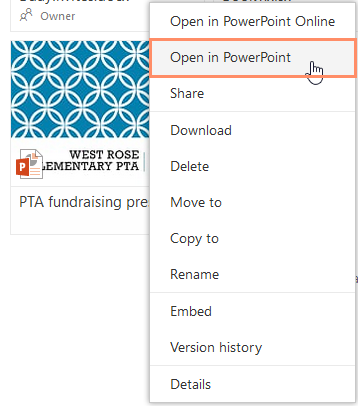
Locate and right-click the document you want to open.
Select Open in PowerPoint from the menu. (Your menu may read Open in Excel or Open in Word depending on what file you're opening.)
Follow the instructions, and your document will open in its desktop Office program.
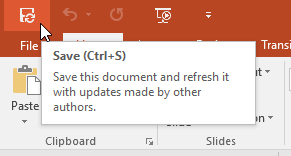
When you're ready to return to OneDrive, simply savethe document within the desktop program and close it. The changes you made will be saved to the file on OneDrive as well.
Sharing files and folders
When you use OneDrive to share a document with someone, you're actually giving that person access to the exact same file you're working on. This lets you and those you share with edit the same document without having to keep track of multiple versions.
There are two ways to share in OneDrive. You can share:
Individual files
Entire folders and all of the files they contain
Watch the video below to learn more about sharing documents and folders in OneDrive.
To share a file or folder:
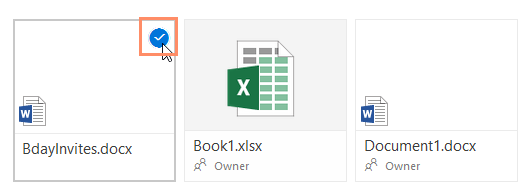
Hover the mouse over the file or folder you want to share, then click the check box that appears.
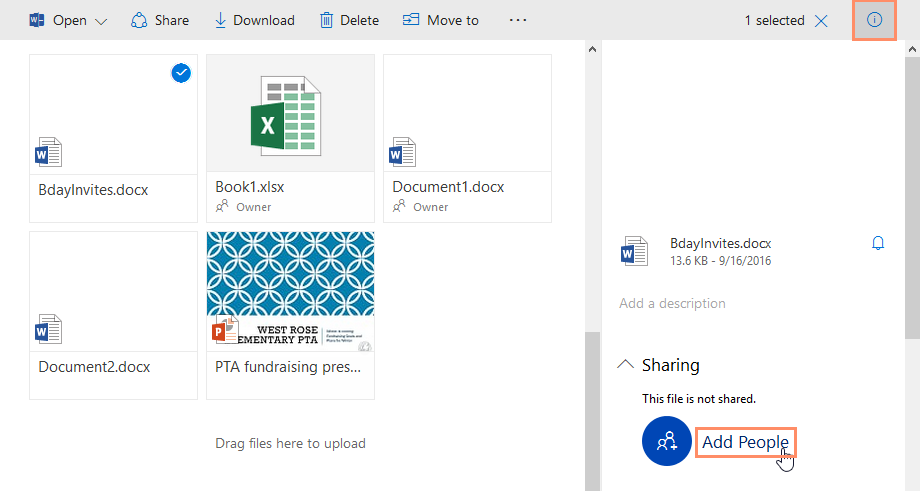
Click the info pane button in the top-right corner of the screen to open the info pane (if it's not already visible).
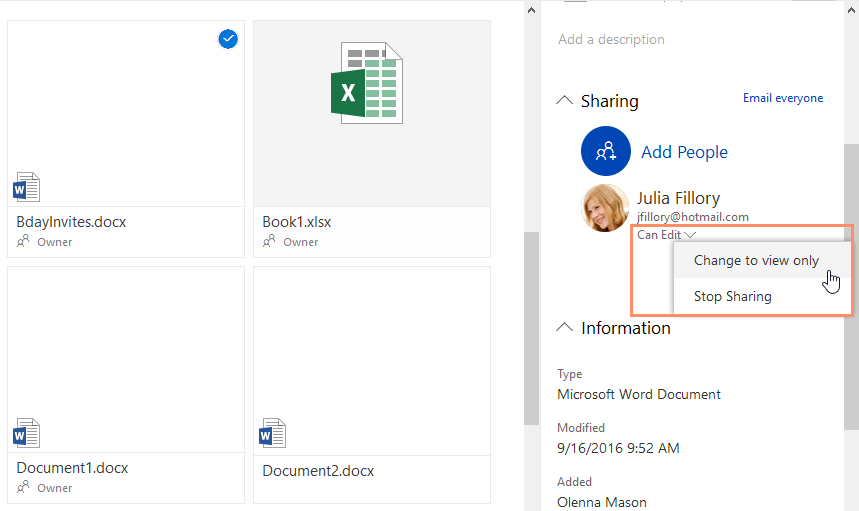
The info pane will appear on the right side of the screen. Locate the Sharing group, then click Add People.
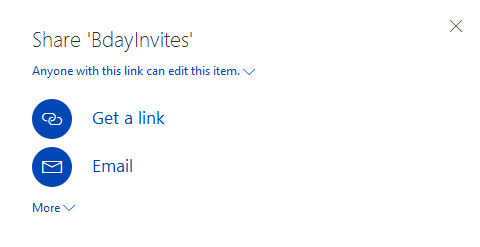
A pop-up window will appear. You can either click Get a link to generate a link of the file to send to people or click Email to send the file via email.
If you chose Email, enter the email addresses of the people you want to share with and add a note (if desired). When you're ready, click Share.
Your file or folder will be shared.
To edit the permissions of a shared file or folder, go back to the details pane and use the controls in the Sharing group.
Remember, when you share a folder, all of the documents in that folder will be shared. You cannot set individual sharing settings for documents within a shared folder.
Sharing tools
Once you've shared a document with others, they'll be able to access it at any time. If you gave them permission, they'll also be able to edit it with Office Online. In fact, multiple people can edit the same shared document at the same time. If someone's editing the document, you'll be able to see that person's name in the top-right corner of the window.
As other people make changes to a document you have open, you'll be able to see the location of their cursors, although you won't be able to see their edits until they save their changes. These changes will be applied to all versions of the document.
This aspect of sharing can be a bit unpredictable. When you're editing at the same time as other people, the changes they make might not appear immediately. You may need to refresh and reopen the document to see their most recent edits.
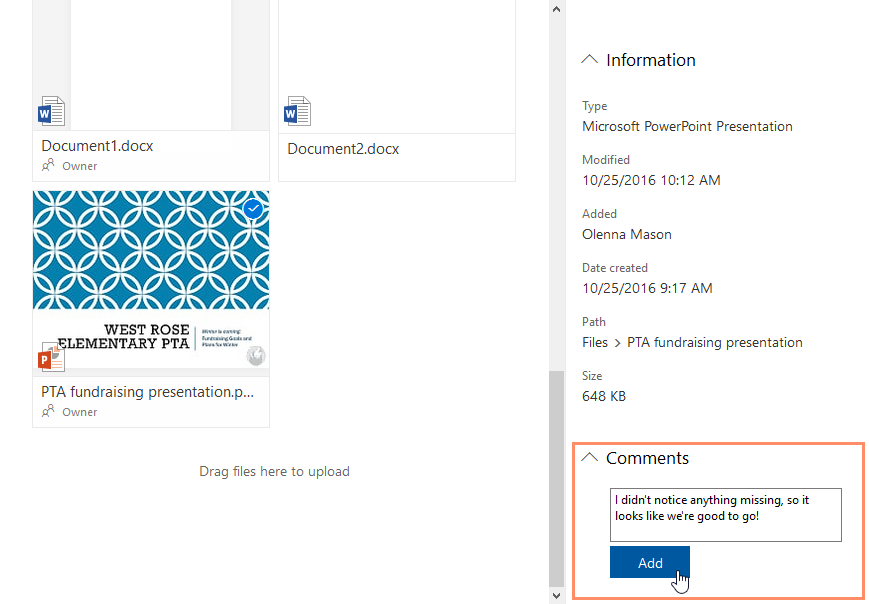
You can communicate about shared documents by adding document comments. When you comment on a document you've shared with others, they will be able to see and respond to your comment.
To add a document comment, go to OneDrive, make sure the info pane is visible, and select the document. You can type your comment in the Comments section at the bottom of the details pane.