Presenting during a video conference is a little bit different than presenting in person. Being familiar with Google Meet's interface and how it works with Google Slides will help you to feel confident when it's time for you to present.
Watch the video below to learn how to present using Google Slides:
Updates: Google Meet's user interface has changed since we made this video. The updates are reflected in the steps and pictures below.
Getting Started
To begin, you’ll need to be using Chrome as your web browser.
Make sure you're logged into your Google account.
Click on the Google Calendar event for the meeting. (If you need help creating an event, this step is covered in the last lesson, "How to Host a Meeting").
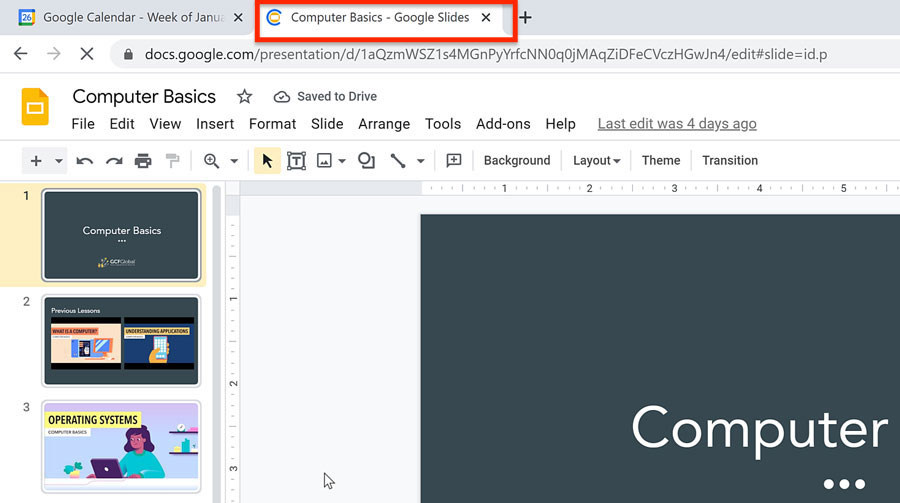
In a new Chrome tab, open your Google Slides presentation.
Now go back to the tab with your Google Calendar. Within the event’s information, click the Join with Google Meet button to join the video call.
A new tab will open to start the meeting. If there are pop-ups, click Allow to approve the use of your microphone, camera, and notifications.
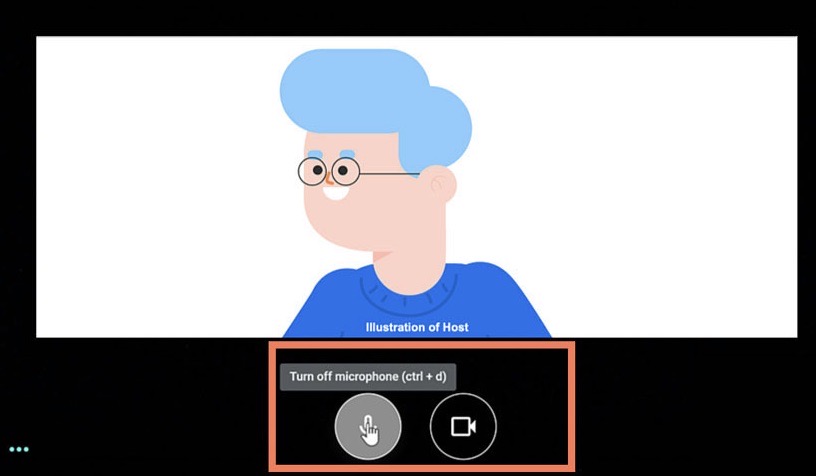
You can choose to join the meeting with your microphone and cameraon or off by clicking the icons. If you change your mind, you can adjust these settings inside the call.
There are two ways you can present: one is right at the beginning of the video call, while the other is later on. Let's go over both options...
Presenting at the Beginning
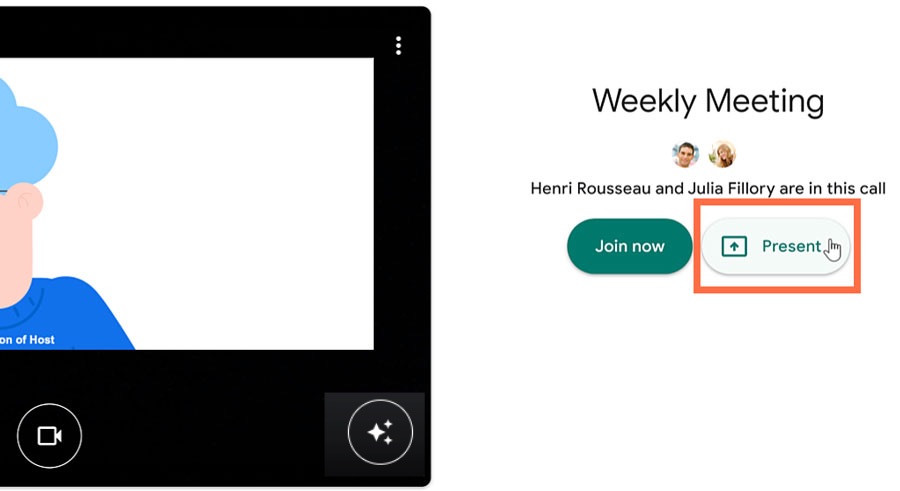
To have the meeting begin with your presentation, click Present.
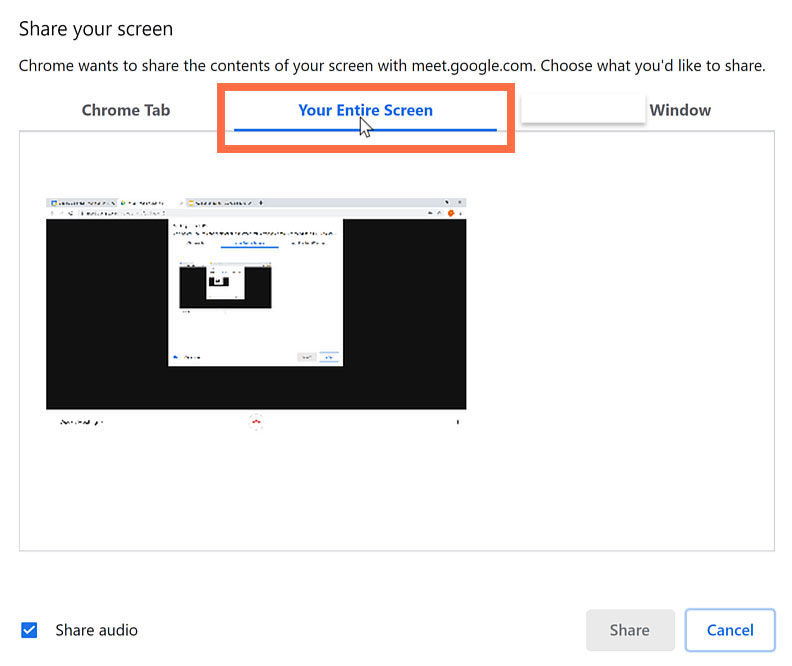
A dialog box appears asking you to allow Google Meet to record your computer screen. Once you allow this, you’ll be able to present a Chrome Tab, Your Entire Screen, or a Window. For this example, we’ll click Your Entire Screen.
Note: Google now recommends presenting in a separate tab or window in order to avoid an "infinity mirror" effect.
If what you're presenting needs to have audio enabled, make sure that the box for Shareaudio is checked. (This is enabled automatically if you're presenting in a Chrome tab).
Then click the screen that you want to share, followed by the Share button.
Select the tab that has your Google Slides presentation.
Next, click the Present button.
You can now carry out your presentation while the people in the call watch it on their own screens. Look for the pop-up window which reads: "Meet.google.com is sharing your screen and audio."
Double-check with your audience to make sure they can hear you and see your slides. When you are finished presenting, click the Stop sharing button.
Presenting Later On
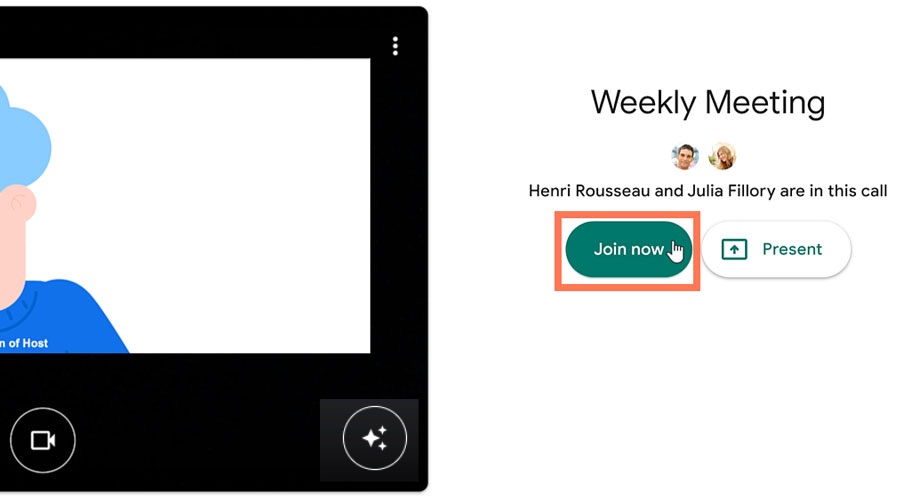
If you are not the first to present in the meeting, click Join now instead.
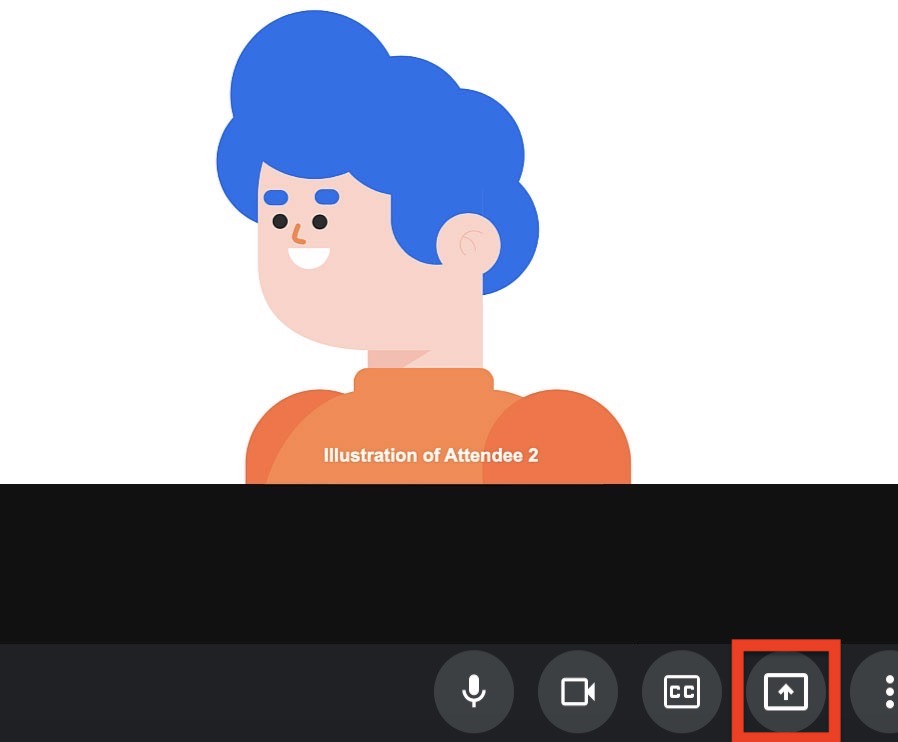
When you are ready to present, click the Present iconin the toolbar.
You can choose either to present Your entire screen, A window, or A tab. Presenting a tab is only available if you are using Chrome as your web browser. For this example, we’ll select A tab.
Looking at the dialog box, keep the box for Shared audio checked if what you are presenting needs to have audio enabled.
Select the tab that you want to share. Then click the Share button.
Next, click Present.
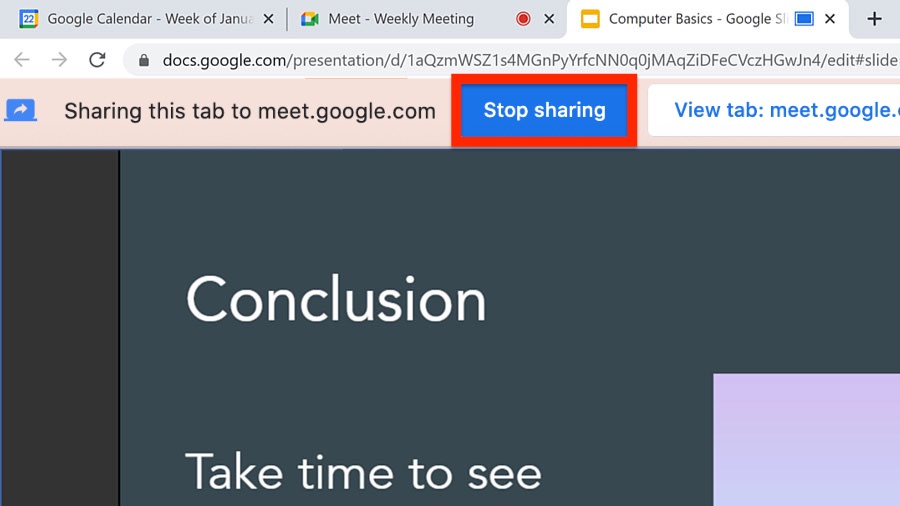
The people in the call can now watch it on their own screens. Double-check to make sure they can hear you and see your slides. When you are finished presenting, click the Stopsharing button.
Video Conferencing Tips
In the last lesson we discussed how to pin your screen or the screen of another participant. You can also pin or unpin your presentation by hovering your mouse above its tile and clicking the pushpin icon. (Having it unpinned will allow you to see the other participants while you present).
If you experience technical difficulties, you can make adjustments in Settings. On the bottom toolbar, click the three dots icon. A menu appears showing more features.
Within Settings, you can make changes to your Audio and Video to make sure you have the correct equipment selected. You can also Test your Speakers to make sure they are working properly.
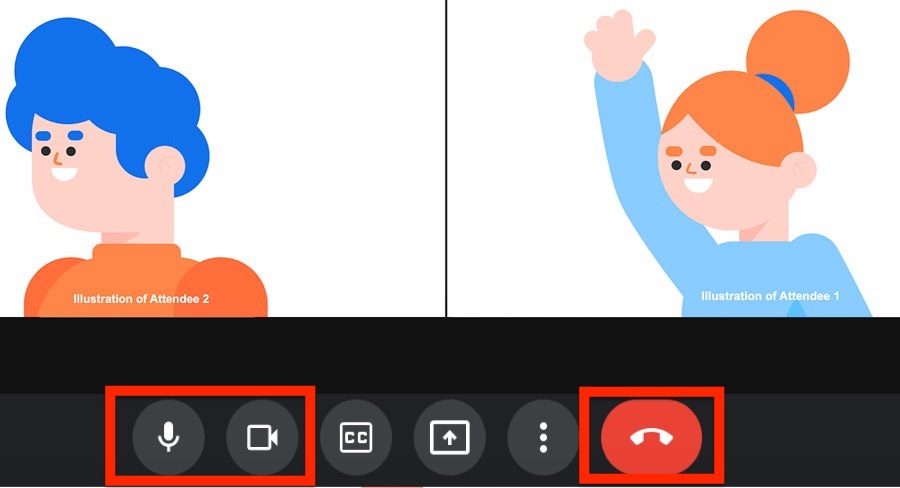
In the bottom toolbar, you can mute your microphone, turn off your camera, or leave the call by clicking the associated icons.
In the next lesson, we'll show you how to use the Google Meet mobile app.